
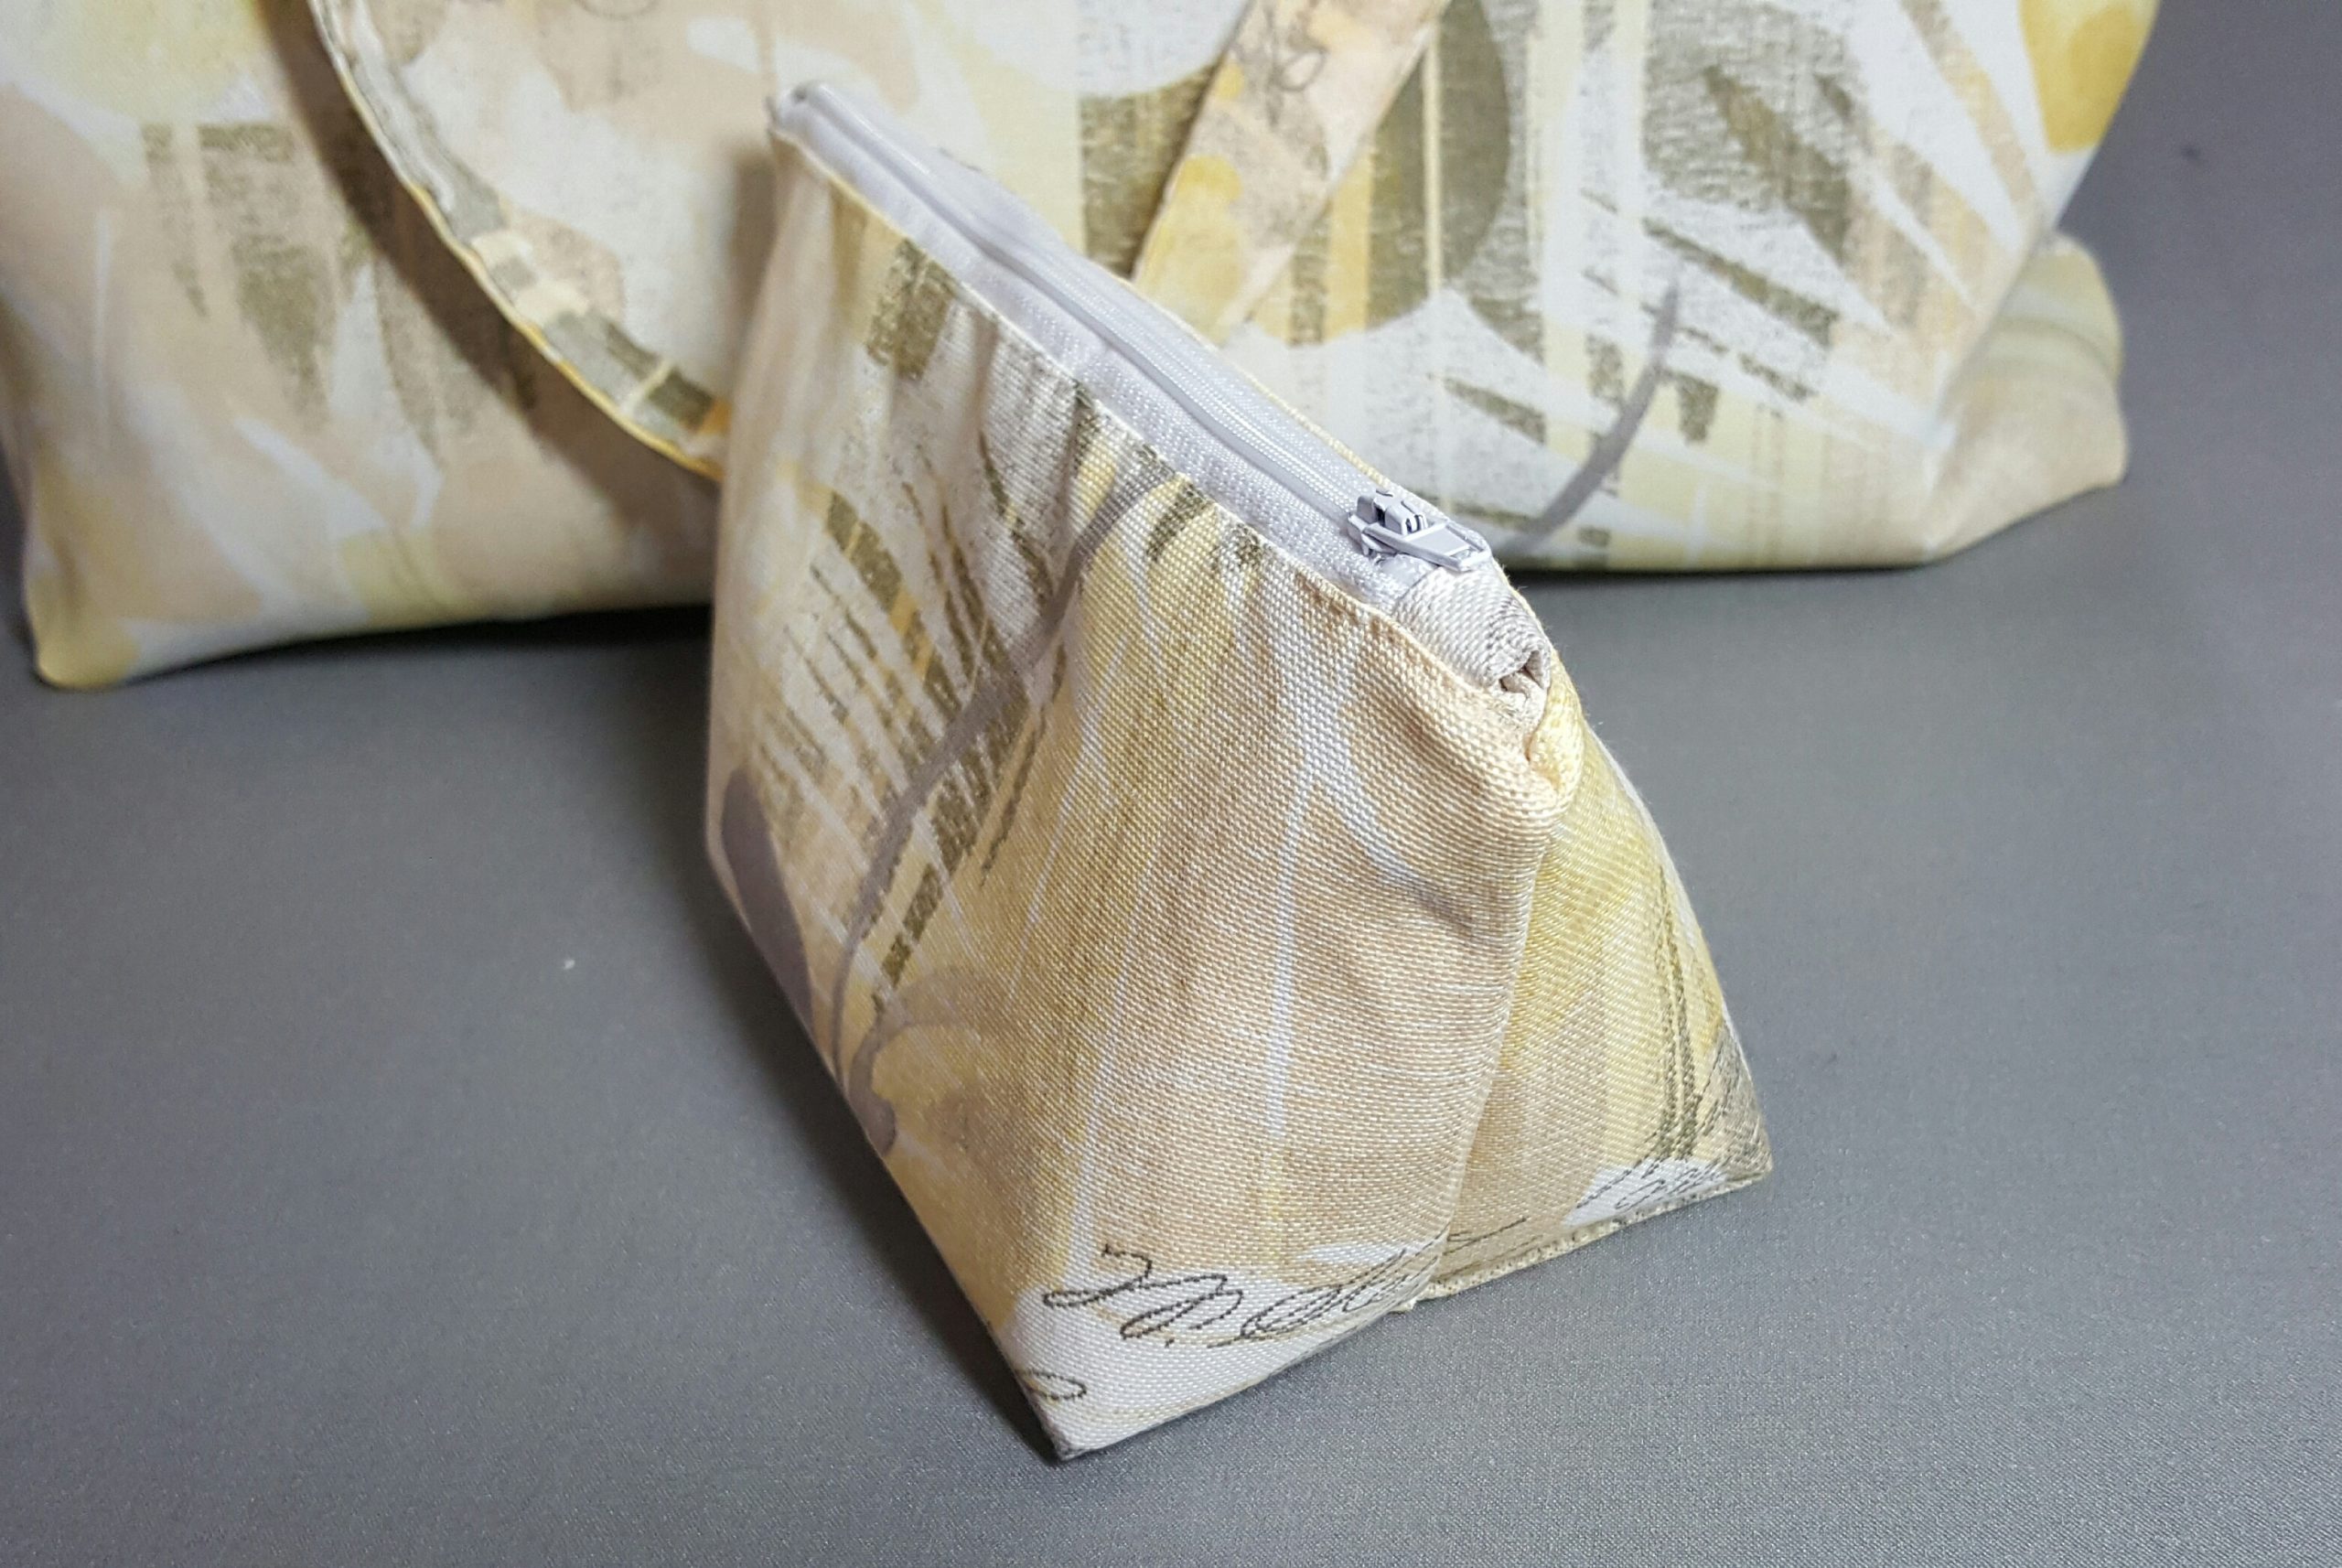
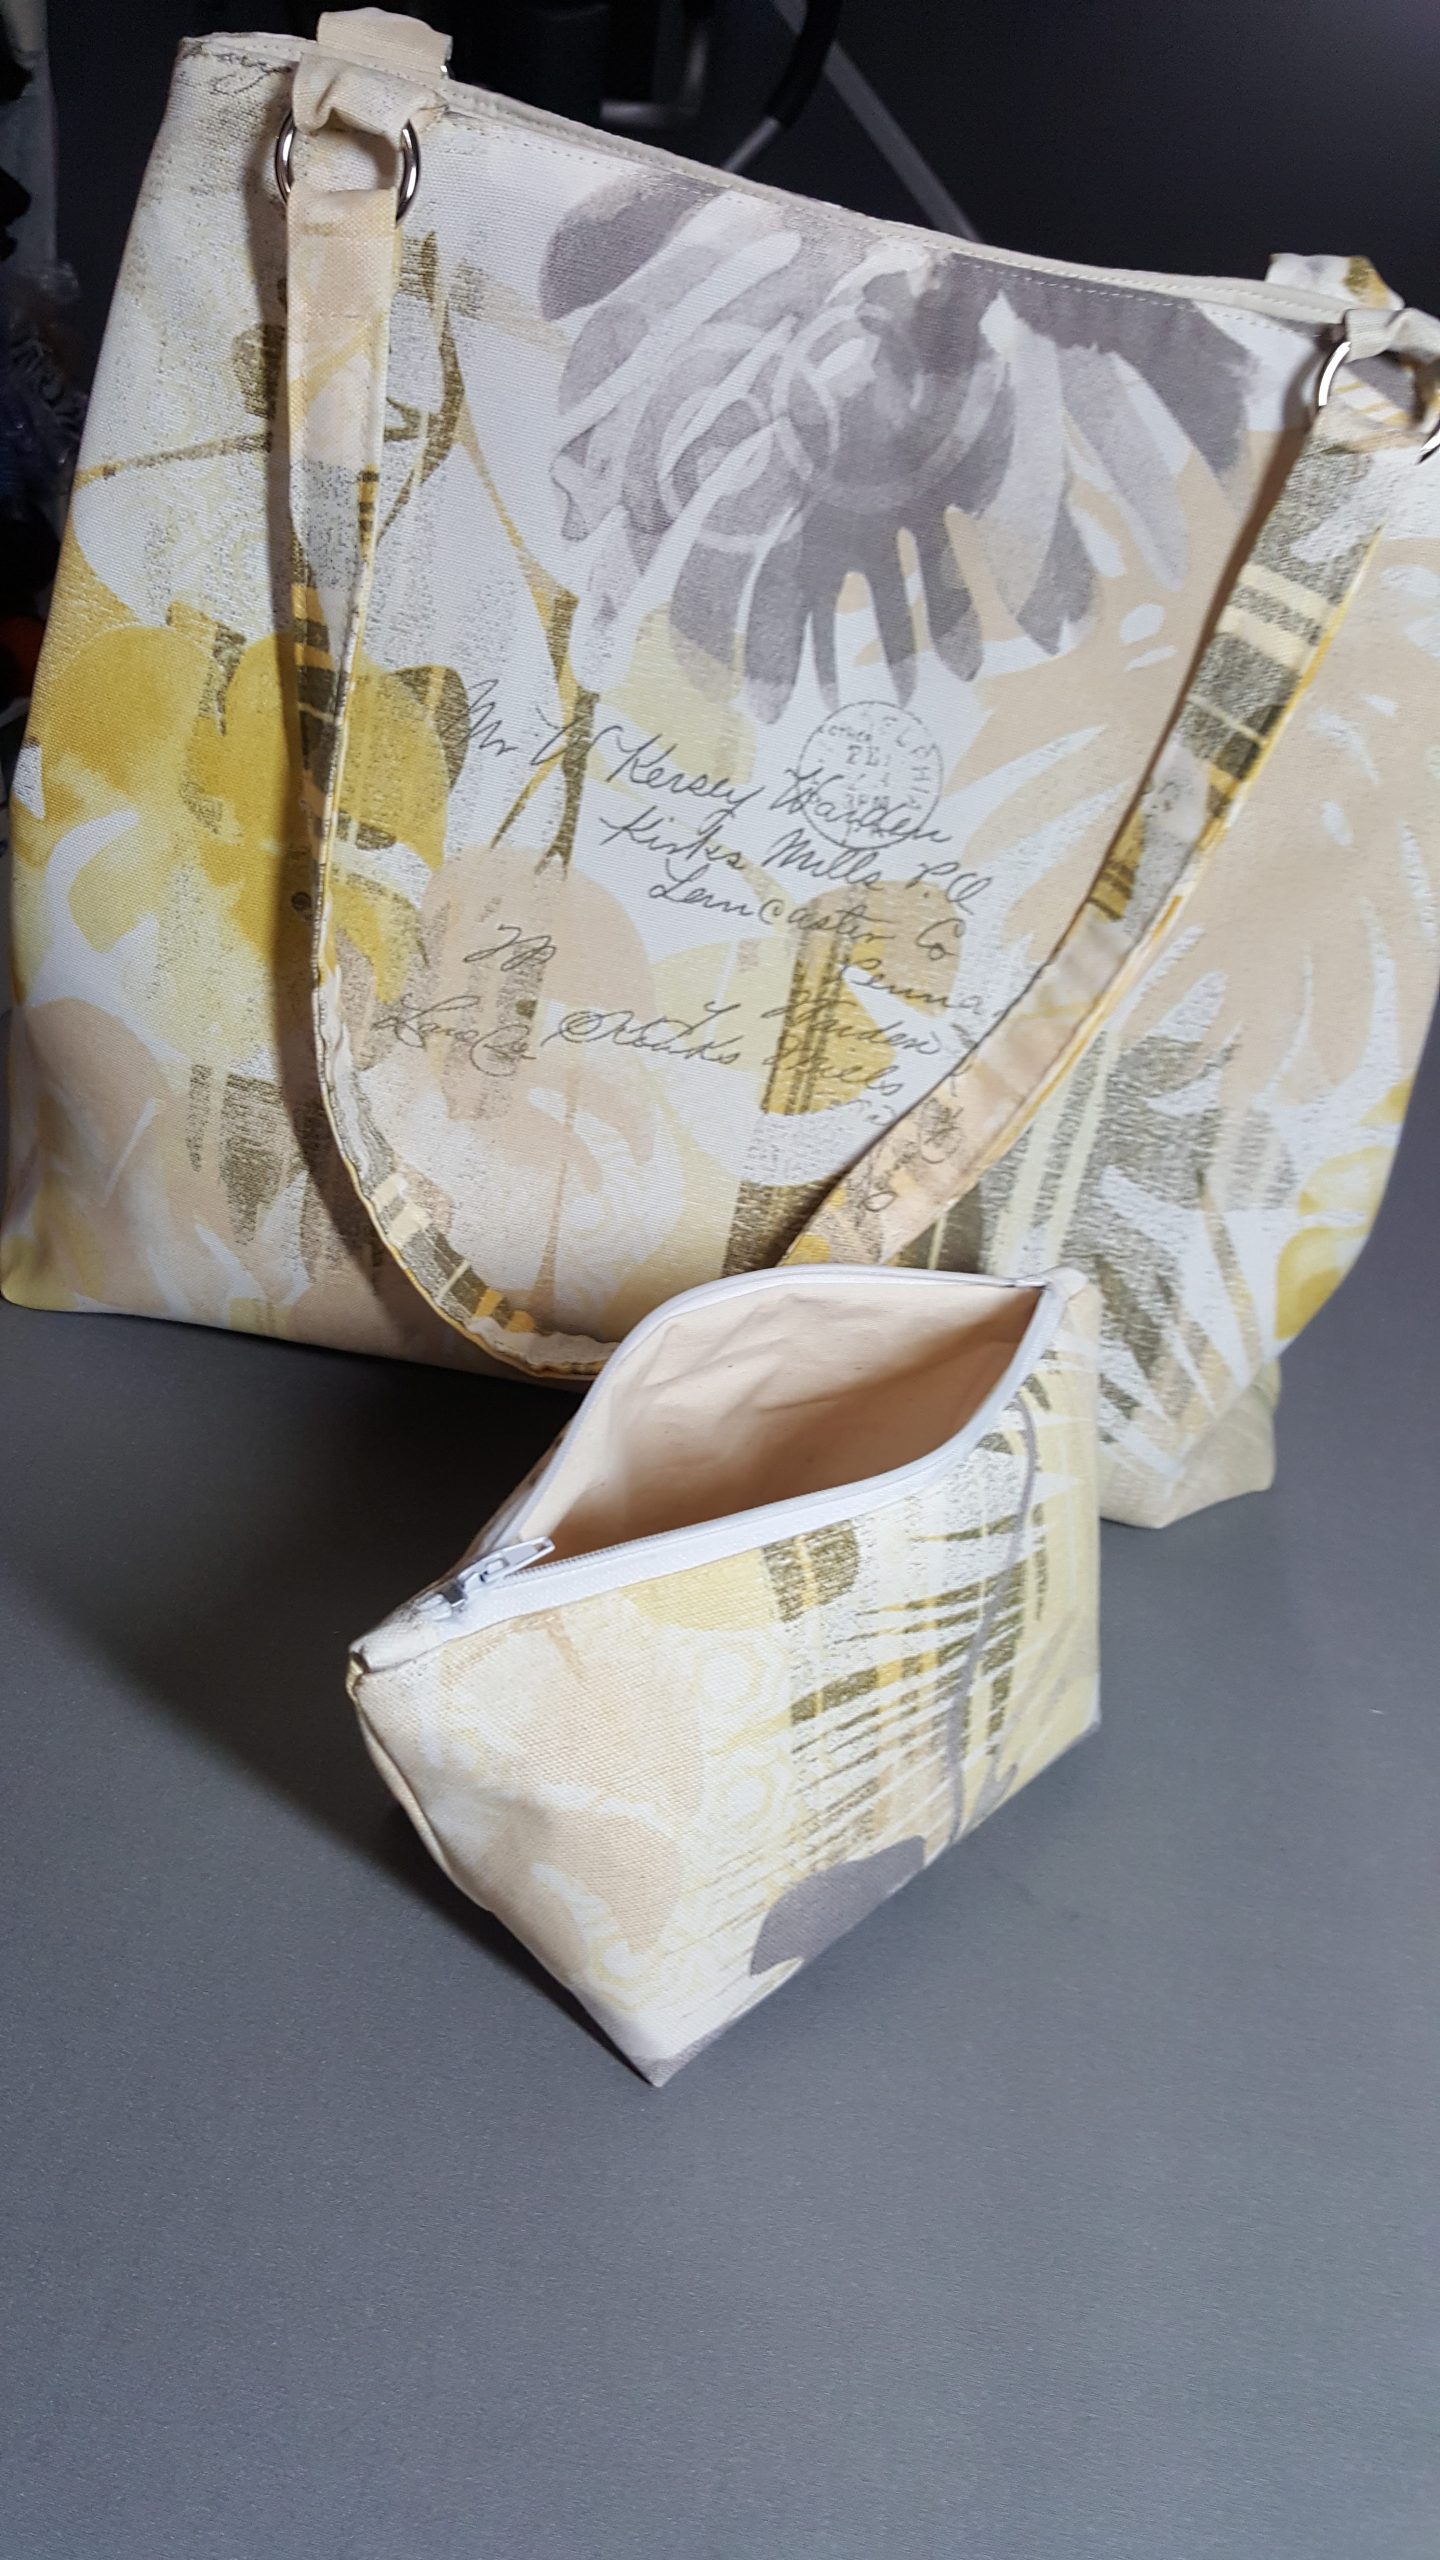
This zippered pouch was the next project in the Oh Sew Fun Sewing Challenge. I made it to match the summer tote from my previous post. I’ve made a lot of zippered pouches, but never with canvas. I usually use a silk brocade, or some other rich looking fabric. This is just as beautiful, while being practical at the same time. Canvas is so easy to sew with. I can’t believe I’ve never used it before these two projects.
This zippered pouch was really easy and took very little time. Unfortunately, I didn’t take pictures of the steps, but I’ll try to describe them as best I can. Next time, I’ll remember to take pictures. 🙂
I cut four pieces of fabric….two for the pouch exterior and two for the interior, along with matching pieces of medium-weight fusible interfacing. I ironed those onto all four pieces of fabric. I used two 2 x 2 pieces of the exterior fabric to cover the ends of the zipper. After doing that, I laid the exterior fabric onto the zipper, right sides together, and stitched. Then I turned the zipper over and did the same with the interior fabric. Next, I pulled the exterior fabric over, as it would be when the bag was finished, and topstitched so it was flat. Then I began with the opposite side of the zipper, doing the same thing.
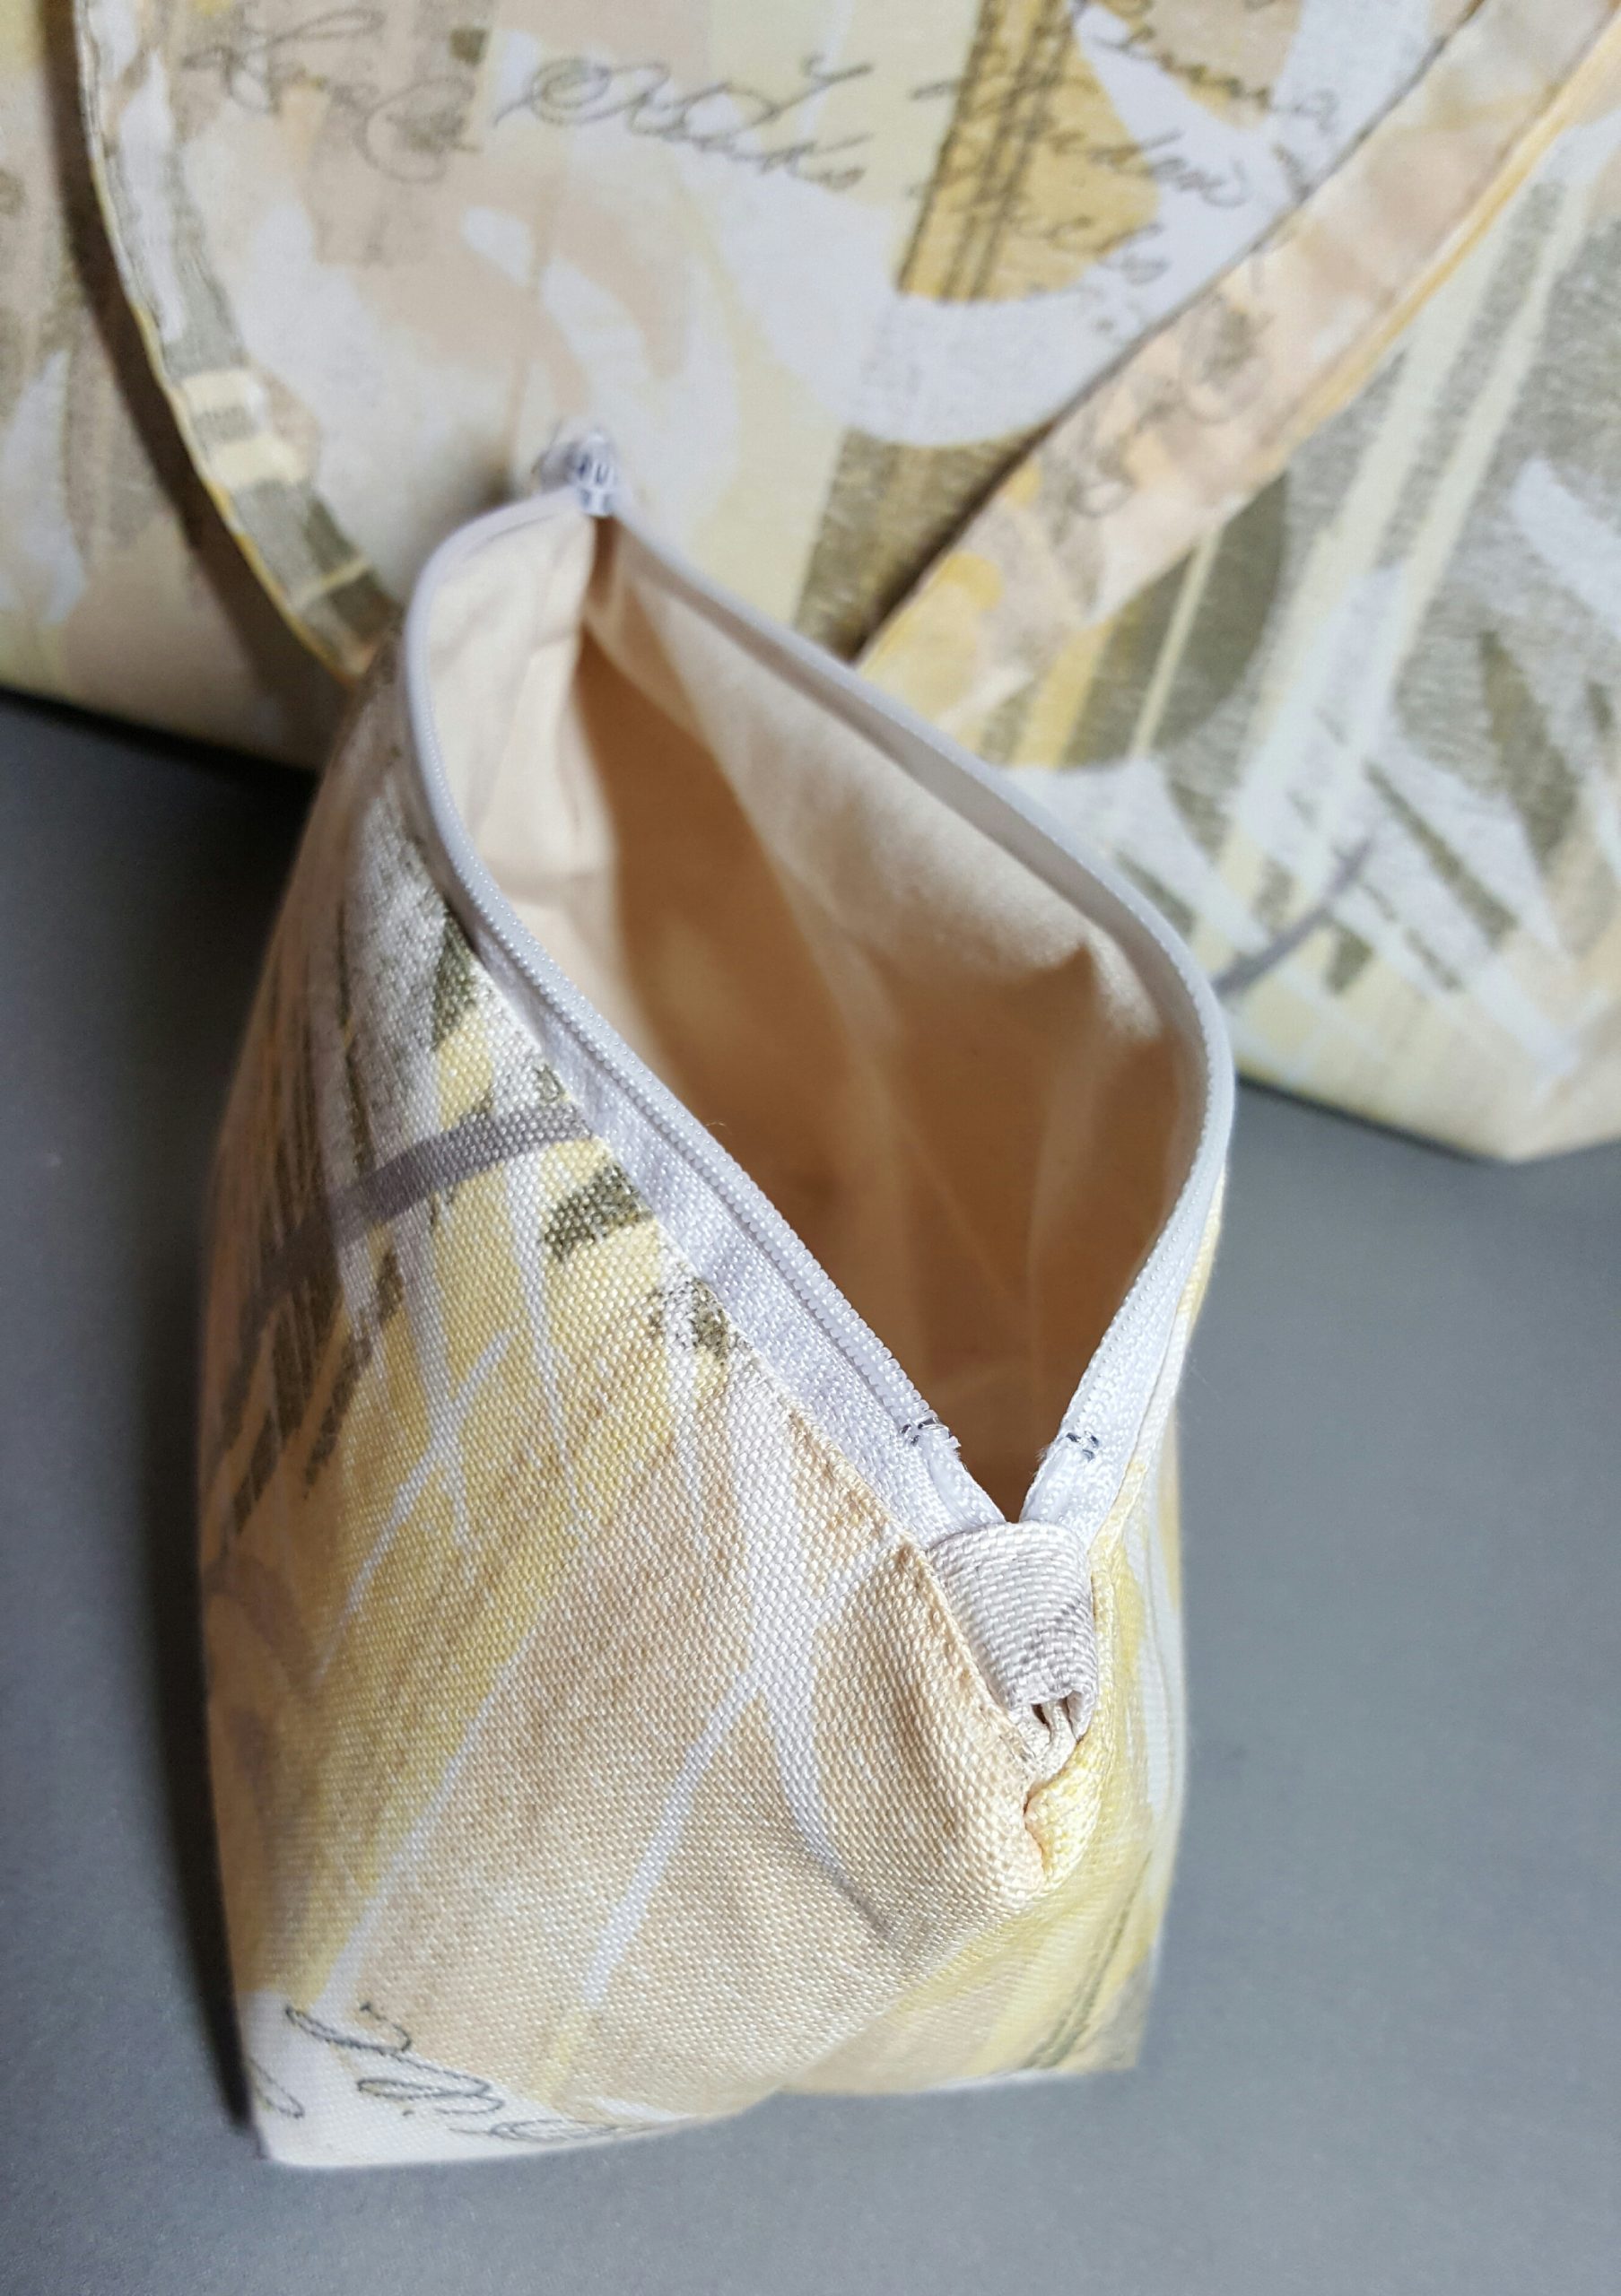
Once I had all of the fabric stitched to the zipper, I opened the zipper and pulled the exterior fabric together and pinned. Then did the same with the interior fabric. The next step is to stitch all the way around, leaving a two inch opening in the lining fabric. You also do not stitch over the zipper tabs. This allows for a cleaner looking pouch top.
The last sewing step was to box all four corners. Once that was done, it was just matter of pulling the bag through the 2-inch hole that was left in the lining, and topstitching the hole closed.


Thanks for reading. 🙂


No Comments