
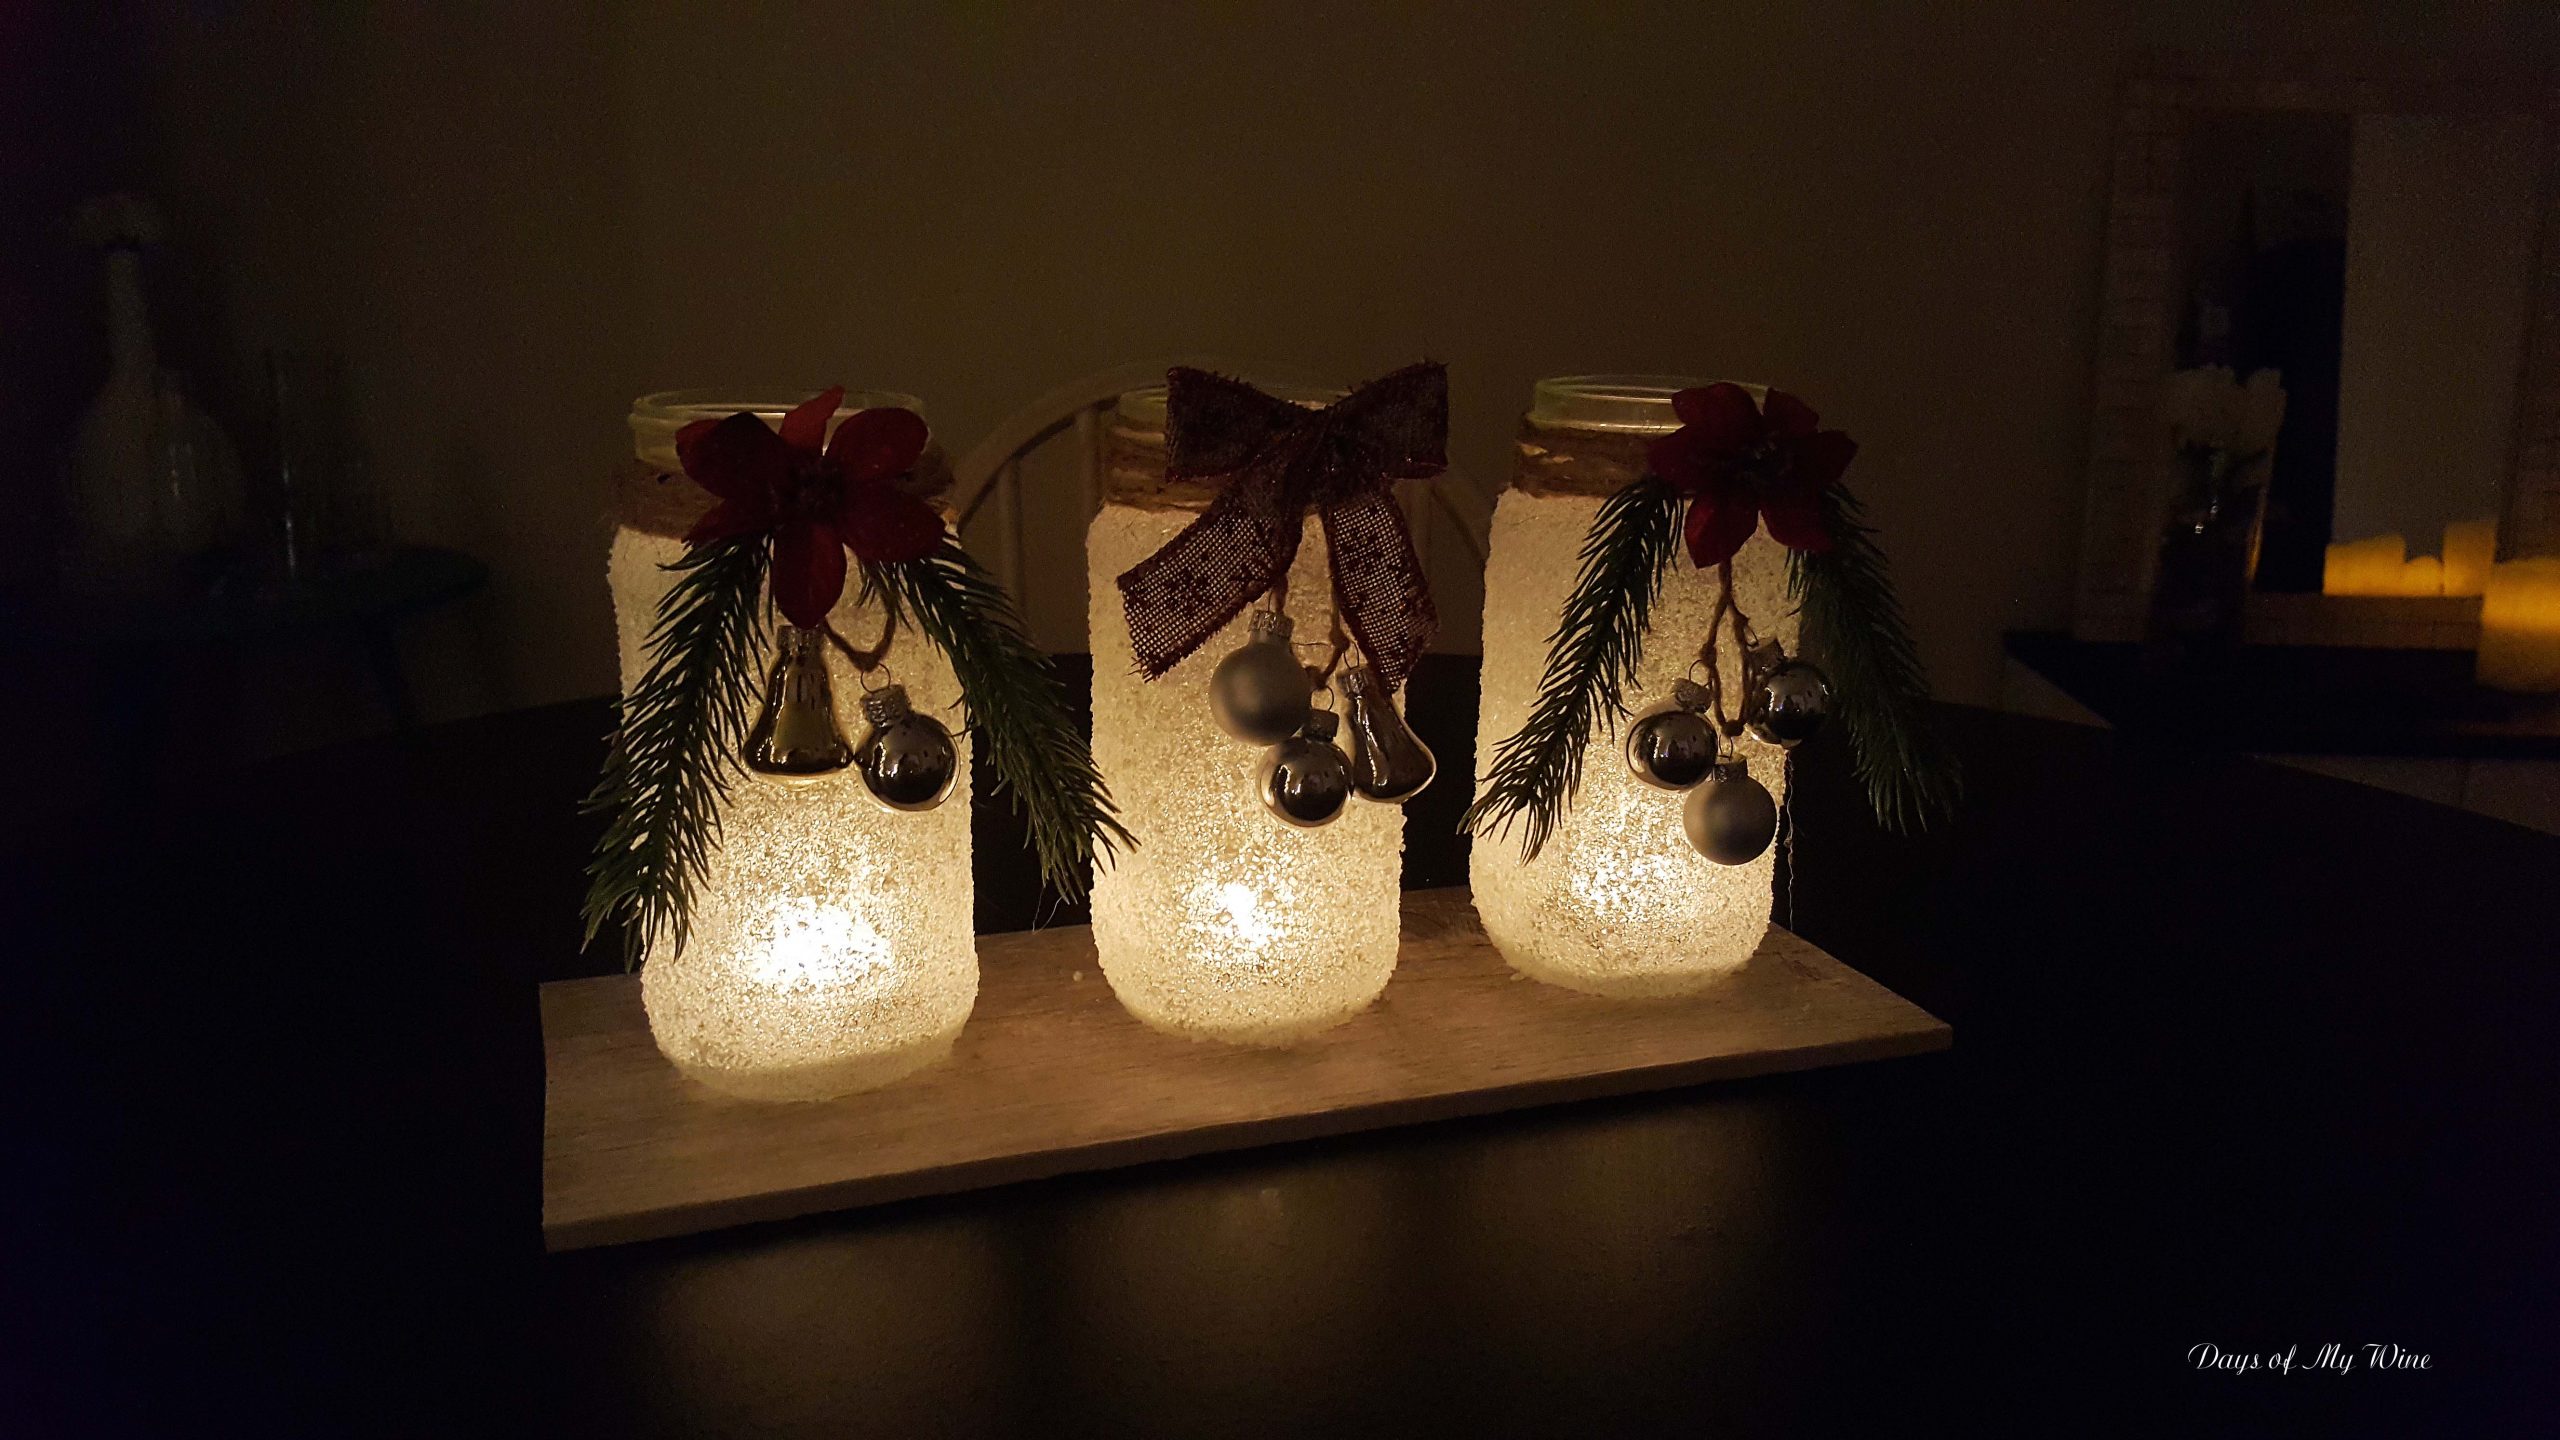
I am obsessed with mason jar luminaries. I’ve seen them all over Pinterest for summer backyards and as porch decor. They give off such a warm glowing light. My goal in life is to be able to walk out french doors from my kitchen/dining area and onto a beautiful deck adorned with soft, glowing lights. There would be mason jars hanging from trees, twinkling lights, the whole deal. When I see mason jar luminaries, it reminds me of that goal. 🙂
I cannot say why, but I keep every mason jar from every sauce purchase ever. All of the Wegmans brand sauces come in lovely, different-sized mason jars. Since there is currently an over abundance of them in my cabinets, I thought I would thin out the herd, so to speak.
Christmas is my favorite holiday, and most of my decorations are already up. This year I have a bunch of bits and bobbles left over. I decided I would use them to try my hand at some Christmas mason jar luminaries. Pictures of these cute little lights are popping up all over my Pinterest feed. Clearly the universe is telling me to get to work.

Getting Started
I began with three 16 ounce Atlas mason jars. I’m pretty sure these were Wegmans Classico Four Cheese sauces at one time…which is delish, by the way. These are the perfect size for this project, because they give you enough room to get in a tea light without burning off your fingers.
On Thanksgiving, I popped over to the Dollar General store and picked up some epsom salt, but everything else I had on hand.
What you’ll need:
- wine (no craft should be made without wine…my opinion only of course 😉 )
- mason jars (size is up to you)
- Mod Podge
- paint or foam brush
- epsom salt
- bowl for epsom salt
- plastic spoon
- small Christmas items for decoration
- glue gun
- jute twine
- tea lights
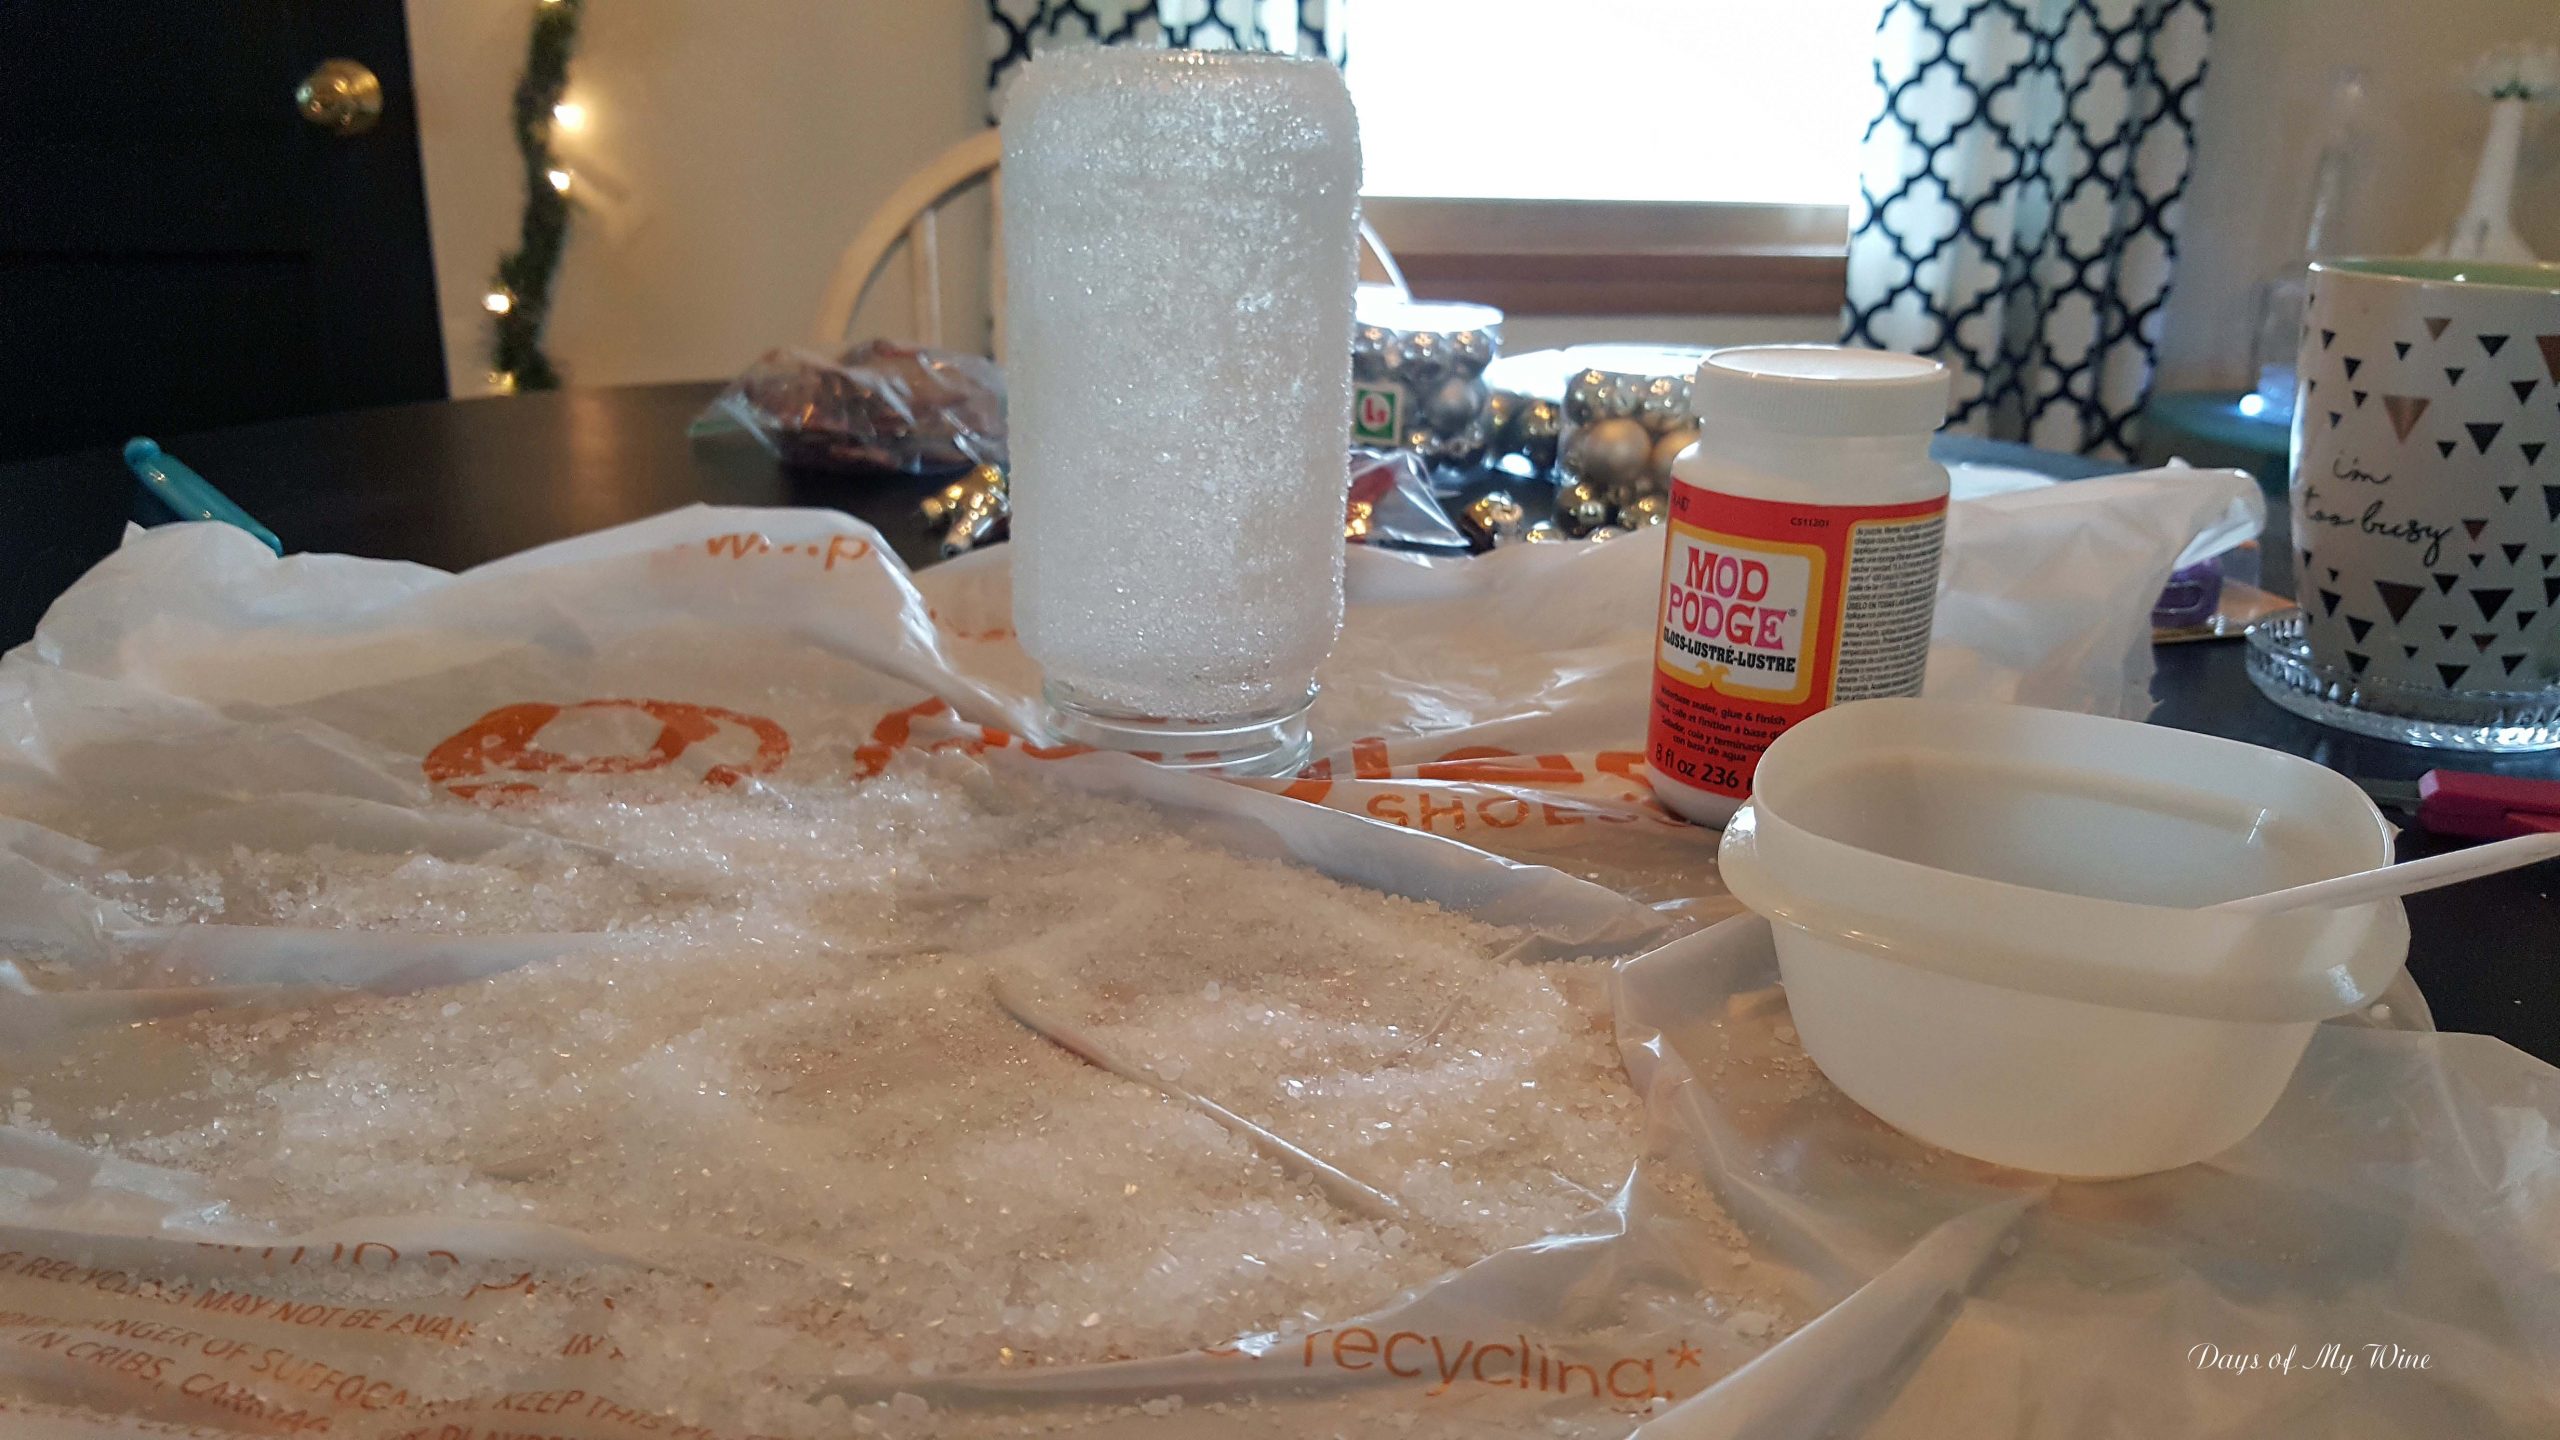
Prepping your space is important, because this can get a bit messy. I’m using the very large bag that held the new boots I bought yesterday from Payless. Holy sale Batman! Everything in the store was 50% off, including sale items!! But I digress…. 🙂
Place your bag flat on whatever surface you are using with as few wrinkles as possible. This is going to get covered in epsom salt, and you’ll want to be able to use your spoon to scoop it back up. That way you can use what falls off. I suppose you could use a paper bag or something along those lines, but by reusing a plastic store bag, I find it easier to make sure no epsom salt escapes when picking it up to throw away. When you use a paper bag or wax paper, one wrong move can launch the salts somewhere you do not want them to go. I may or may not have done this….I’ll admit nothing!
Next, you’ll fill your bowl with the epsom salt. I forgot to do that first and had to be quick after I painted the Mod Podge on the first mason jar. Paint a thick layer of Mod Podge onto your jar, and use the spoon to sprinkle the epsom salt onto the Mod Podge. I also use the spoon to press the salts into the Mod Podge. Then set the jars aside to dry.


Sealing Your Jars
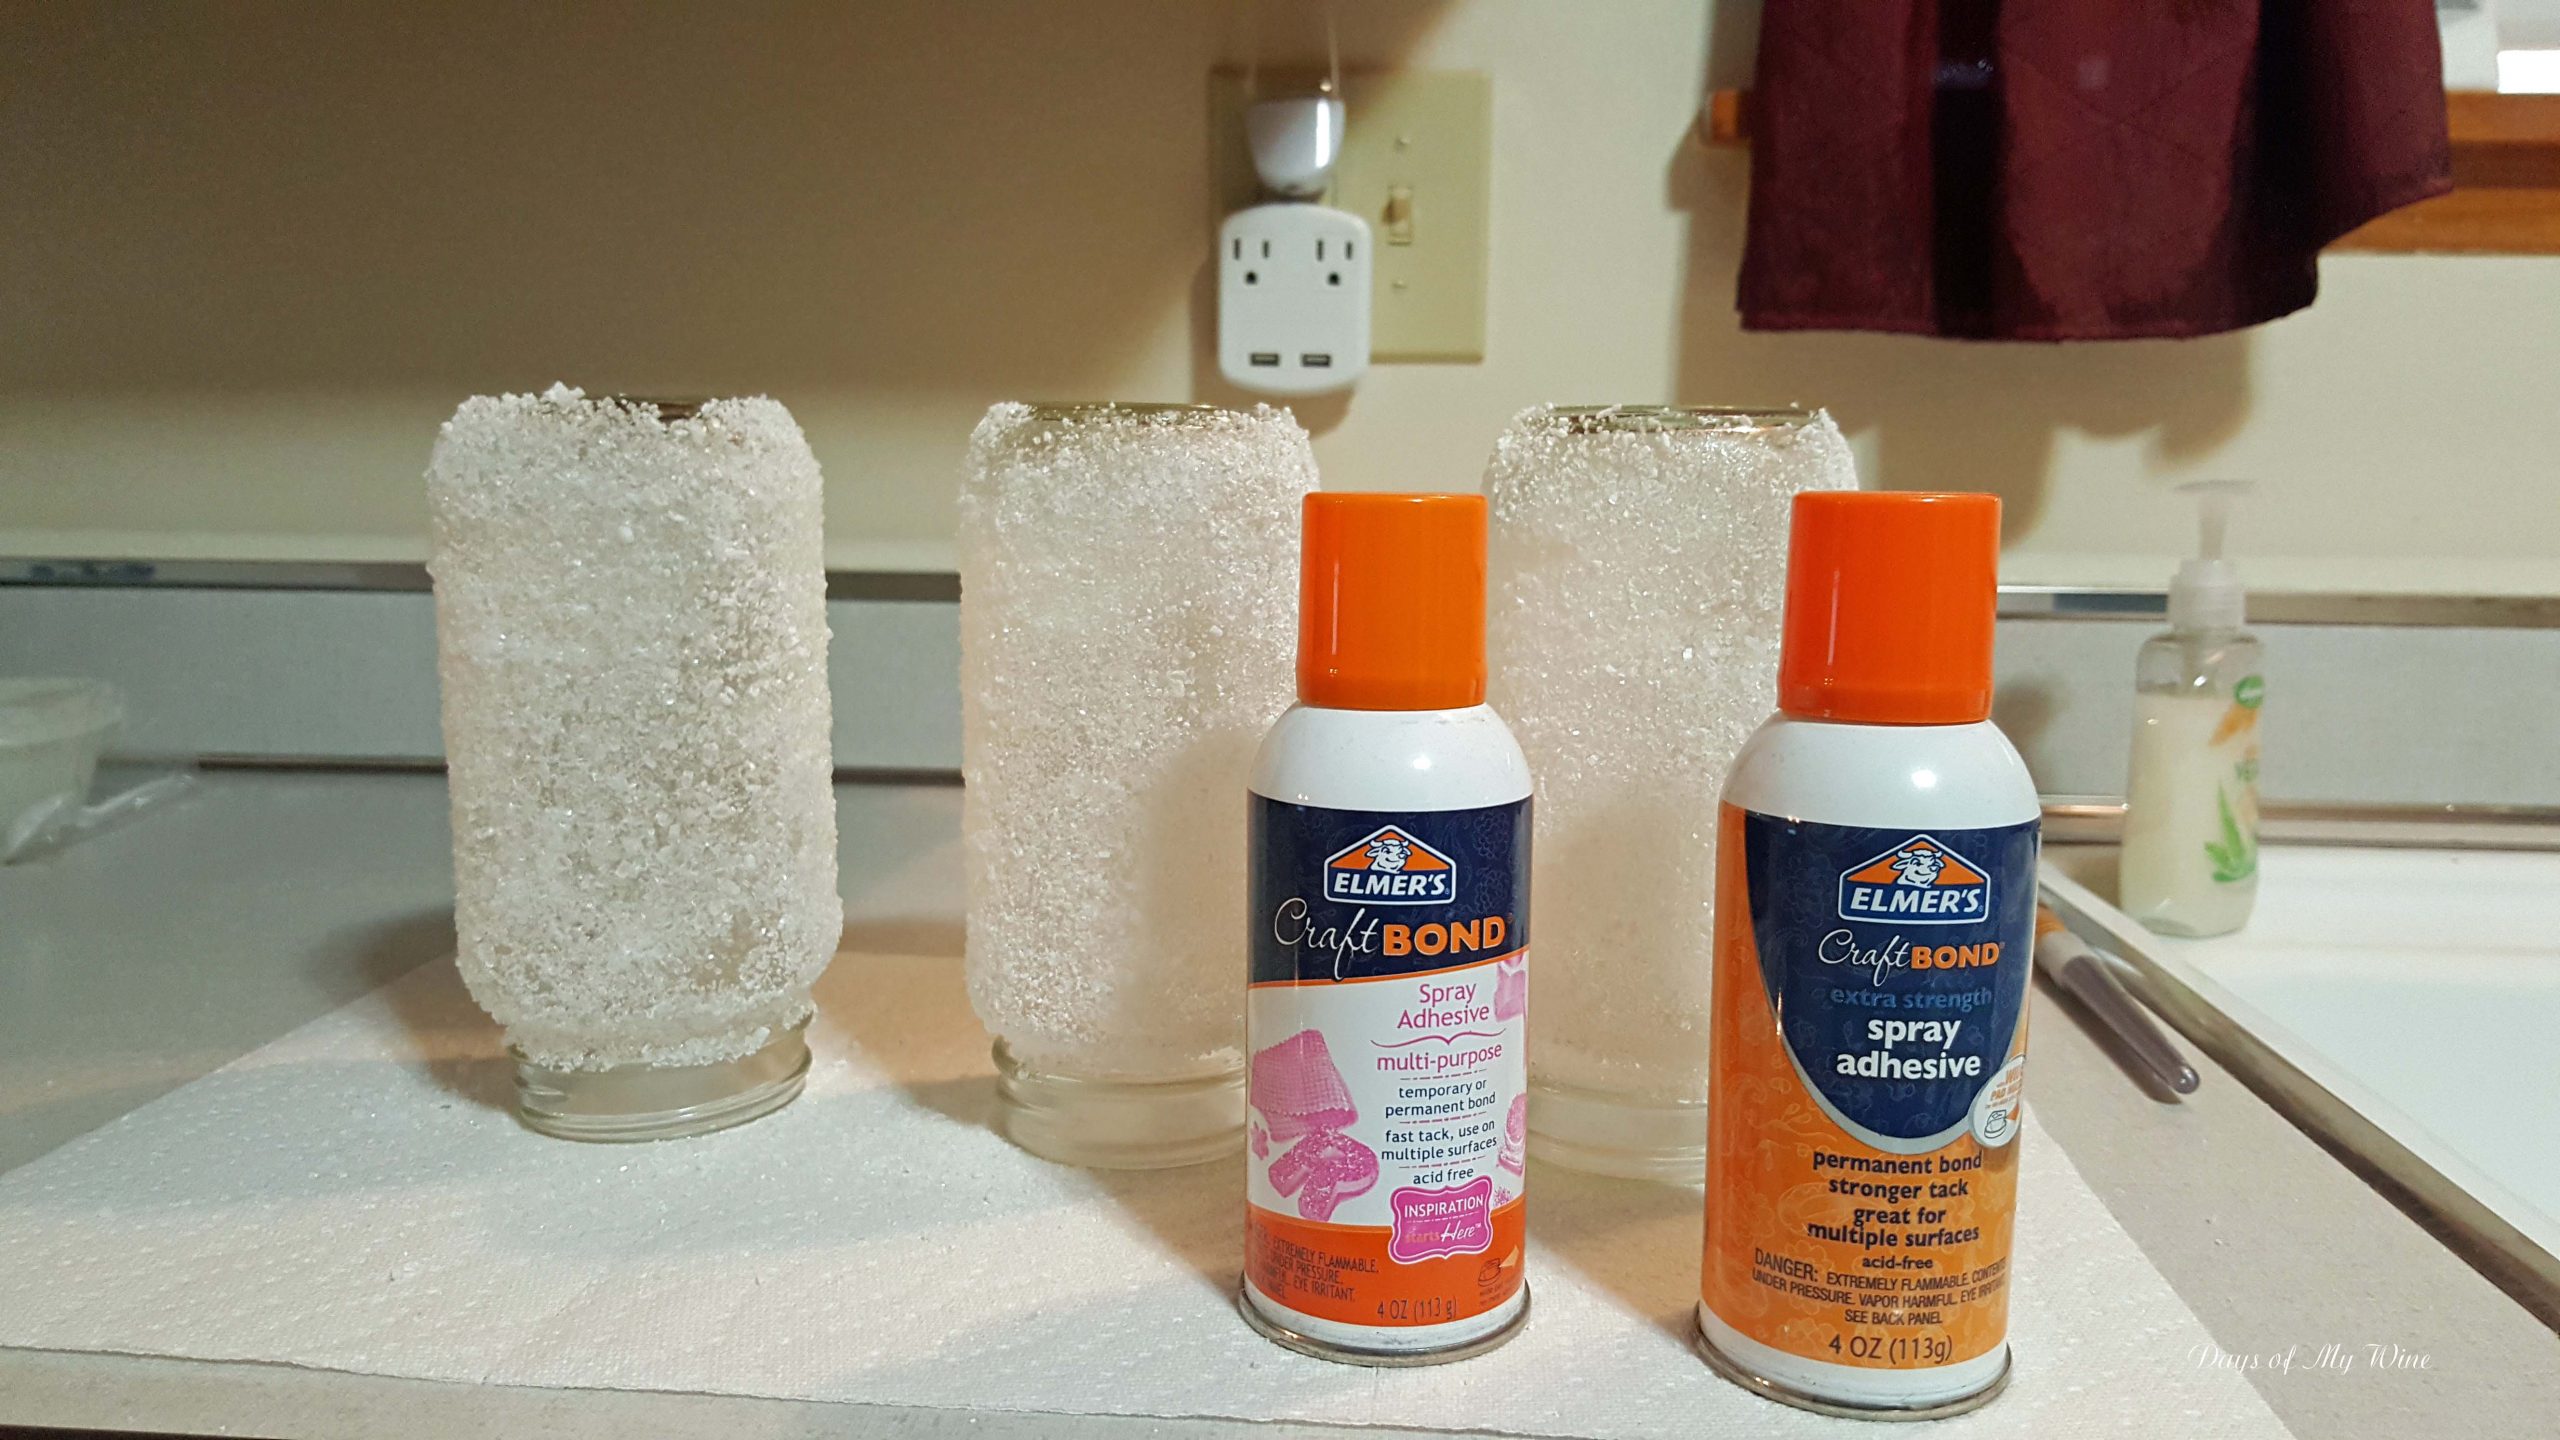
While waiting, I did some research to see how others might seal their jars. Apparently, epsom salt can get powdery after awhile, and I want to make sure my jars stay nice. Ultimately, my final choice was a spray adhesive. It is flammable like other sealants, but slightly easier to control, because it is thicker. I sprayed each upside down jar once the Mod Podge was dry using a make-shift spray box. Leave to dry again, and commence dancing to upbeat Christmas tunes. Or, in the alternative, catch up on the new episodes of your favorite shows of which Hulu has failed to notify you.


Decorating Your Jars
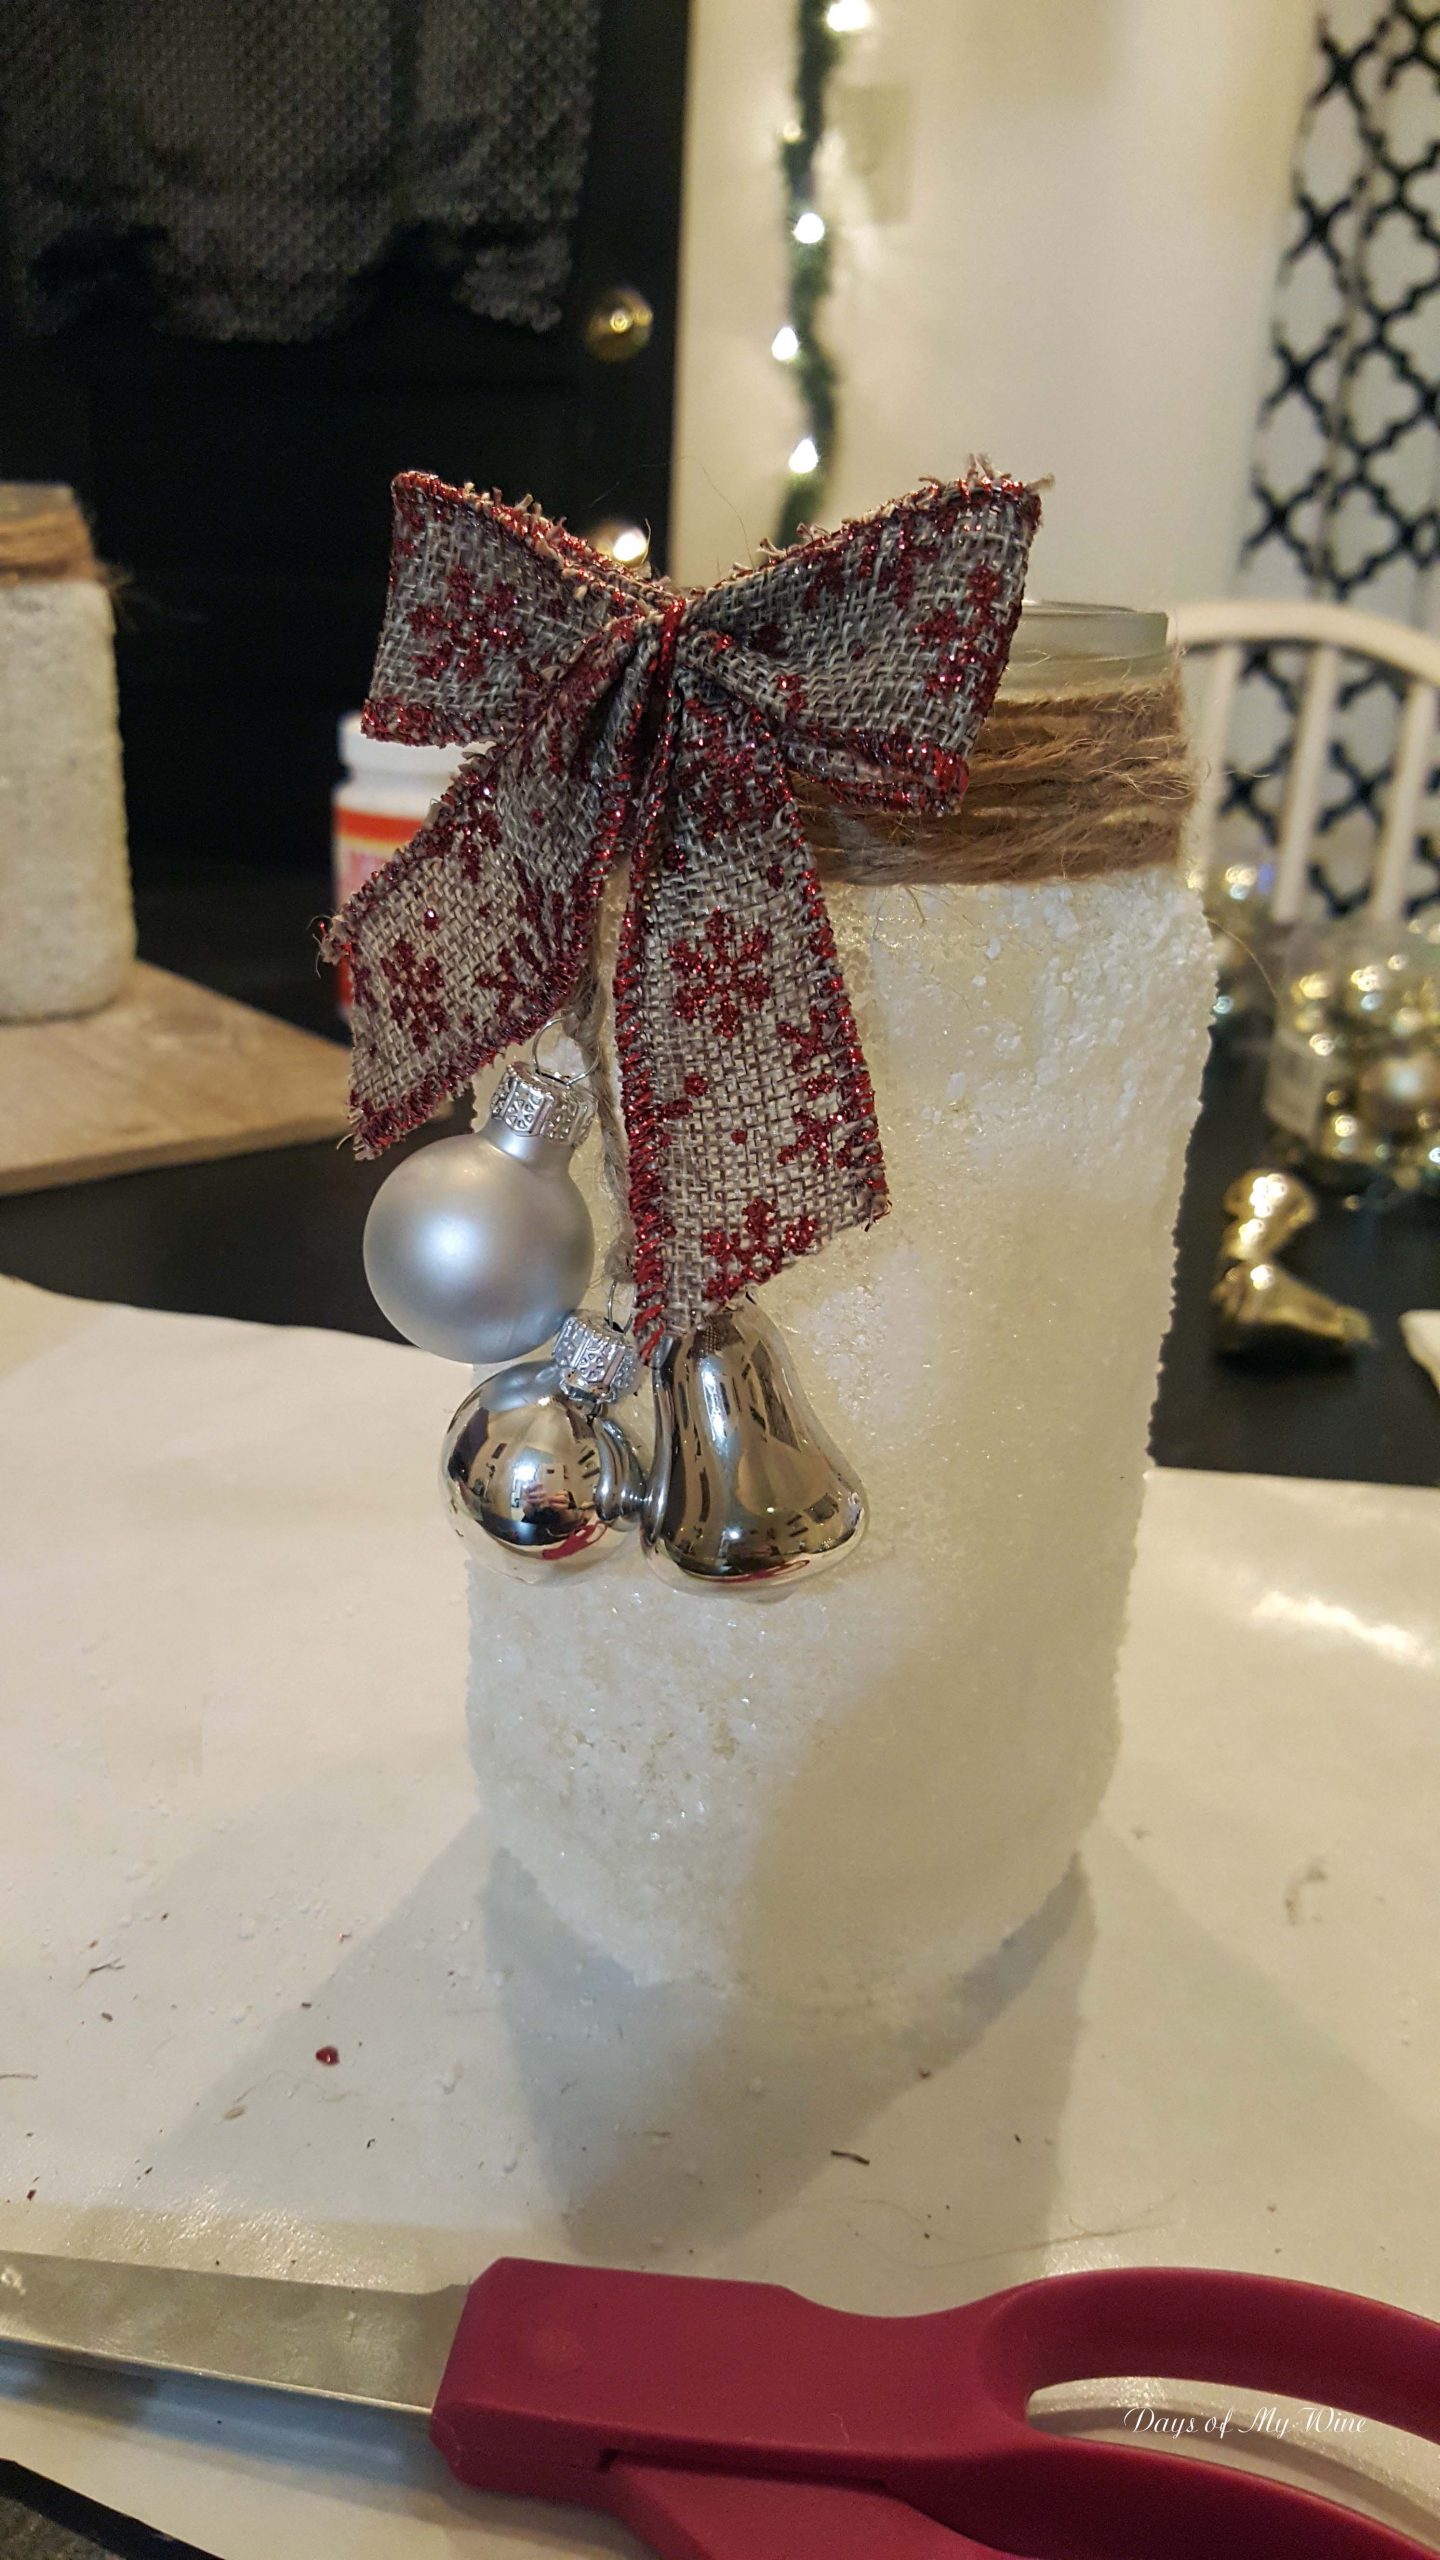
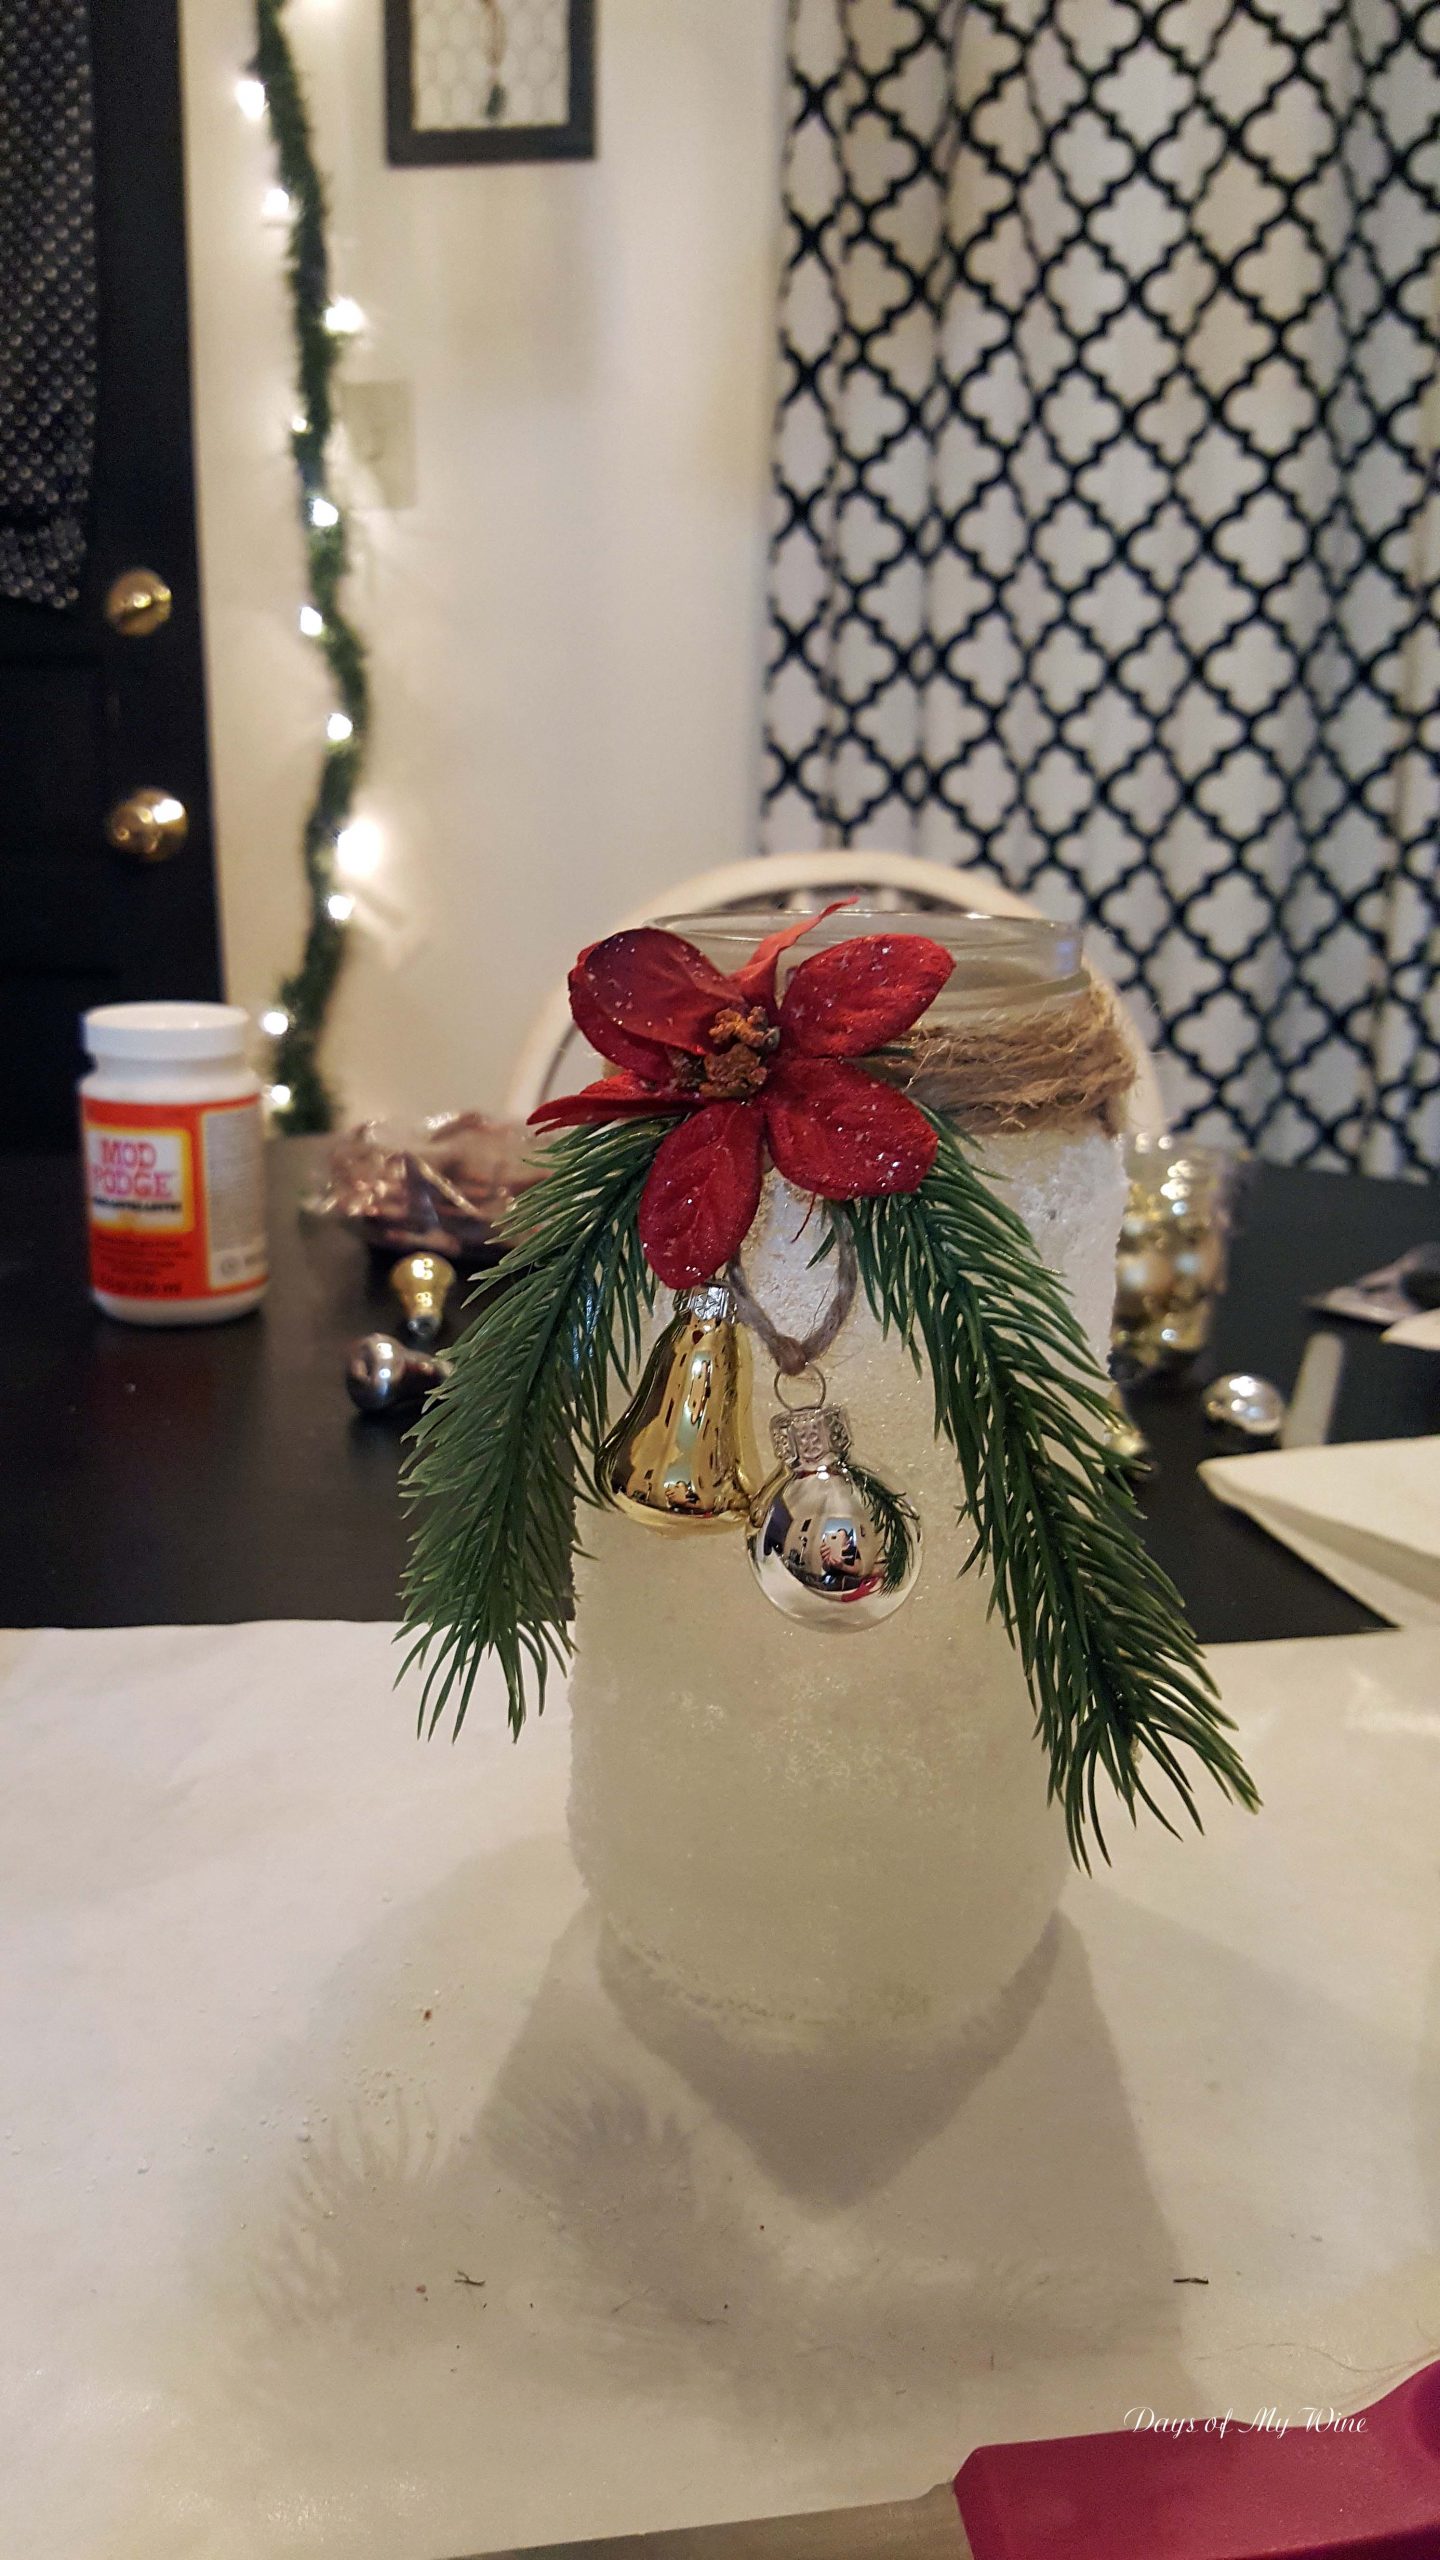
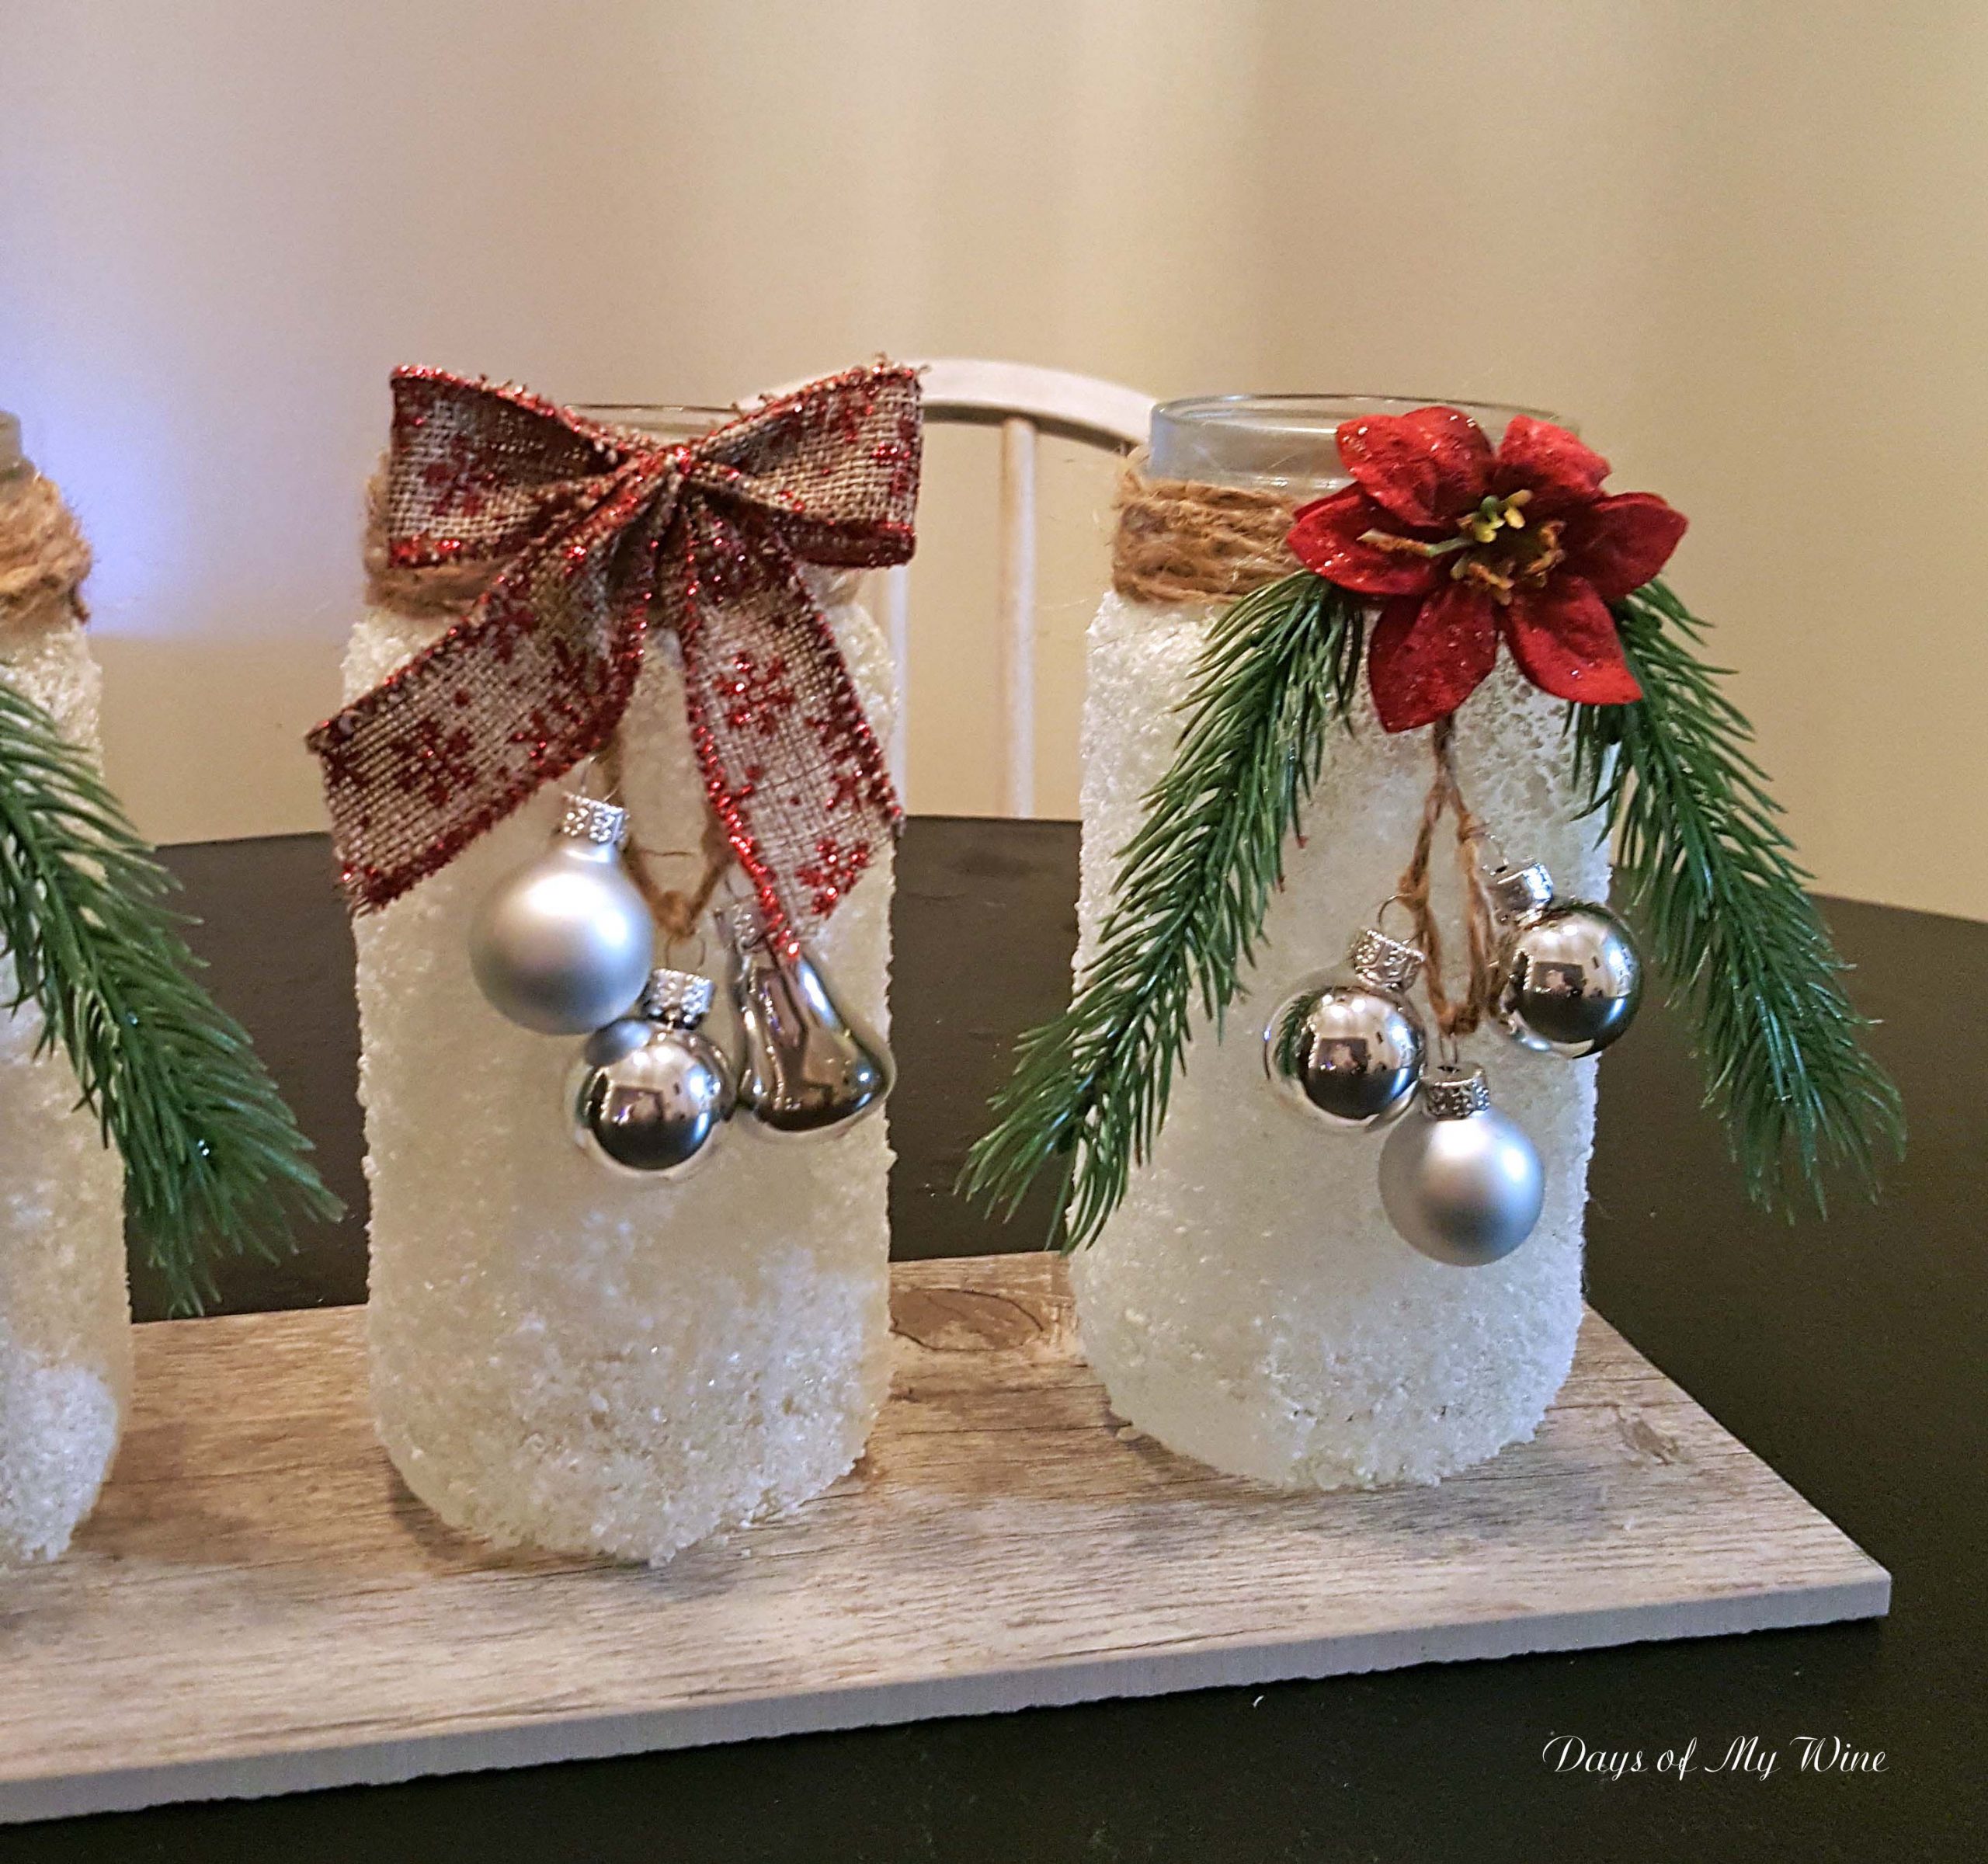
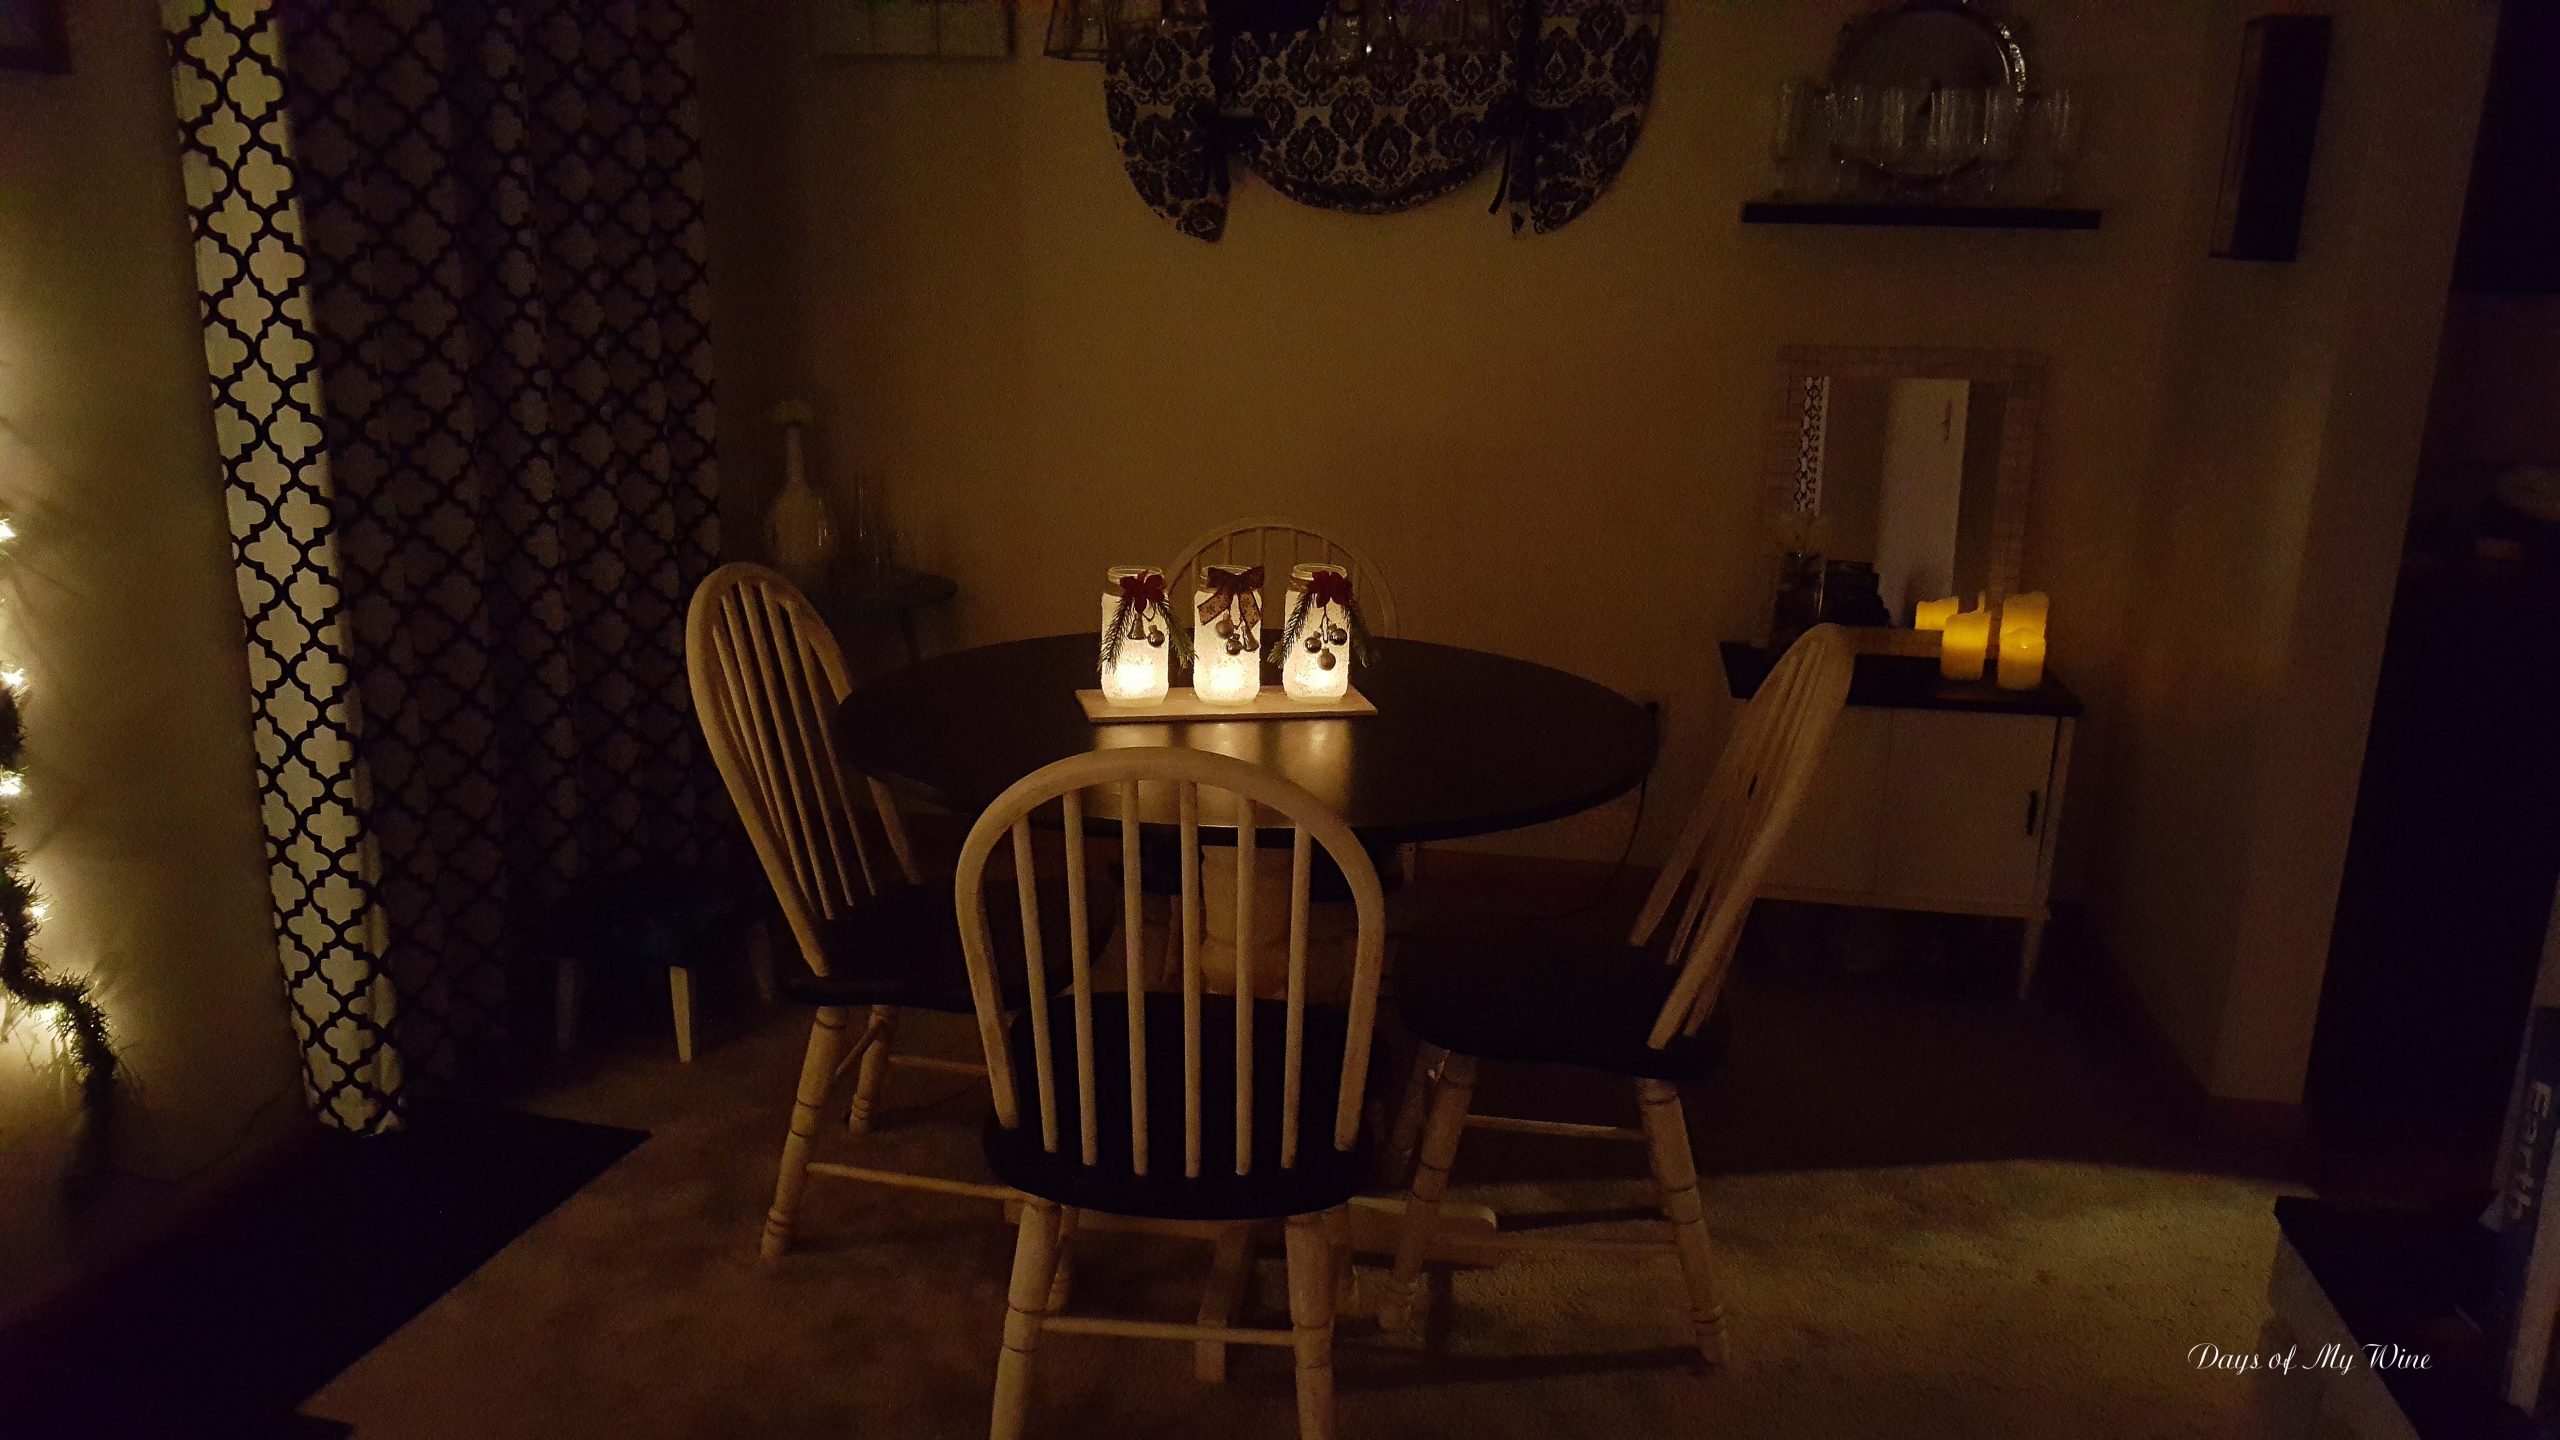
When your jars are completely dry, it’s time to get creative. I’m using jute twine, tiny ornaments, and left over odds and ends that fell off other decorations. This is the quickest part of the entire process. Grab up your glue gun and start slapping things on. I started by wrapping the lip of each jar. Once I glued that down, I added the other decorations. On two of the jars, I used red poinsettias along with faux pine pieces. On the third jar, I used a burlap ribbon. Ornaments tied with the jute twine completed all three. To keep any stray epsom salt from falling on the table, I grabbed a left over piece of the porcelain tile from my downstairs bathroom. And that finishes my Christmas centerpiece!! Enjoy my video on my YouTube channel here!


A word of caution…I checked Google to see about epsom salt and pets. The man of the house is a long-haired feline, so I wanted to make sure the new centerpiece was cat friendly. Unfortunately, it isn’t. I’ll be putting these out of the way when I am not around to supervise. From what I read, cats can sometimes find epsom salt rather tasty. And that is not a good thing. So use care around your pets friends. 🙂


No Comments