
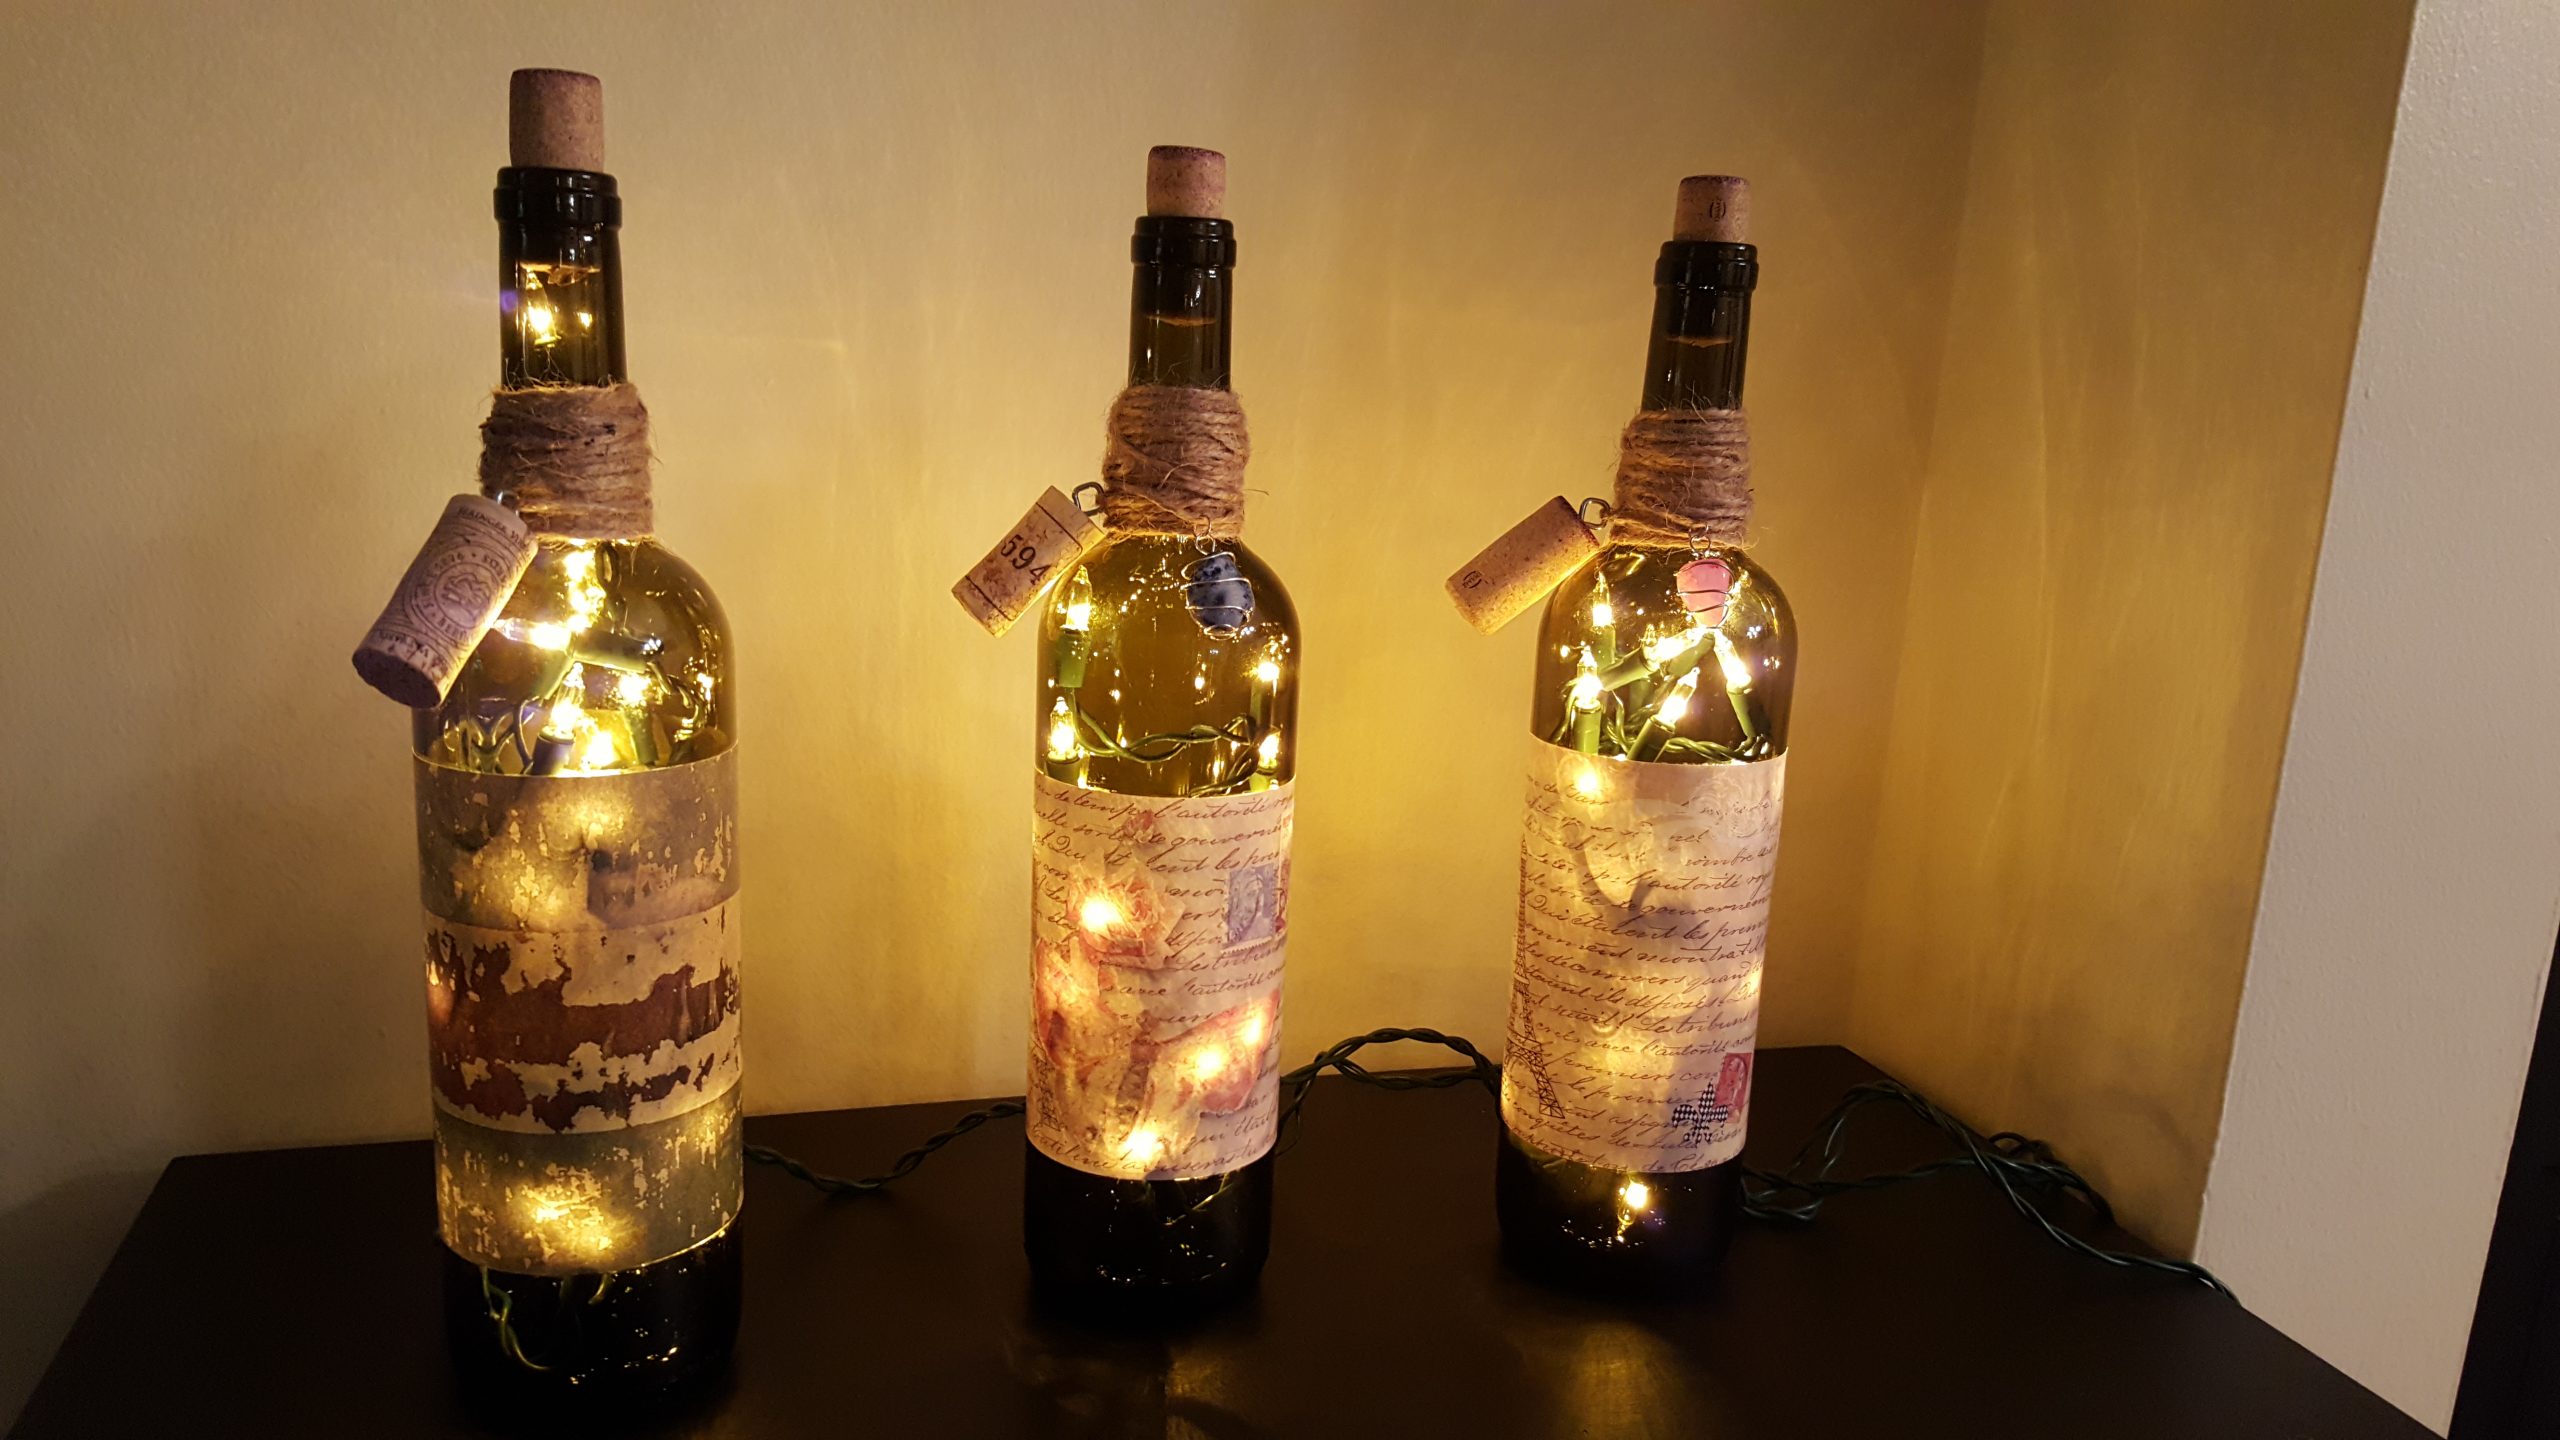
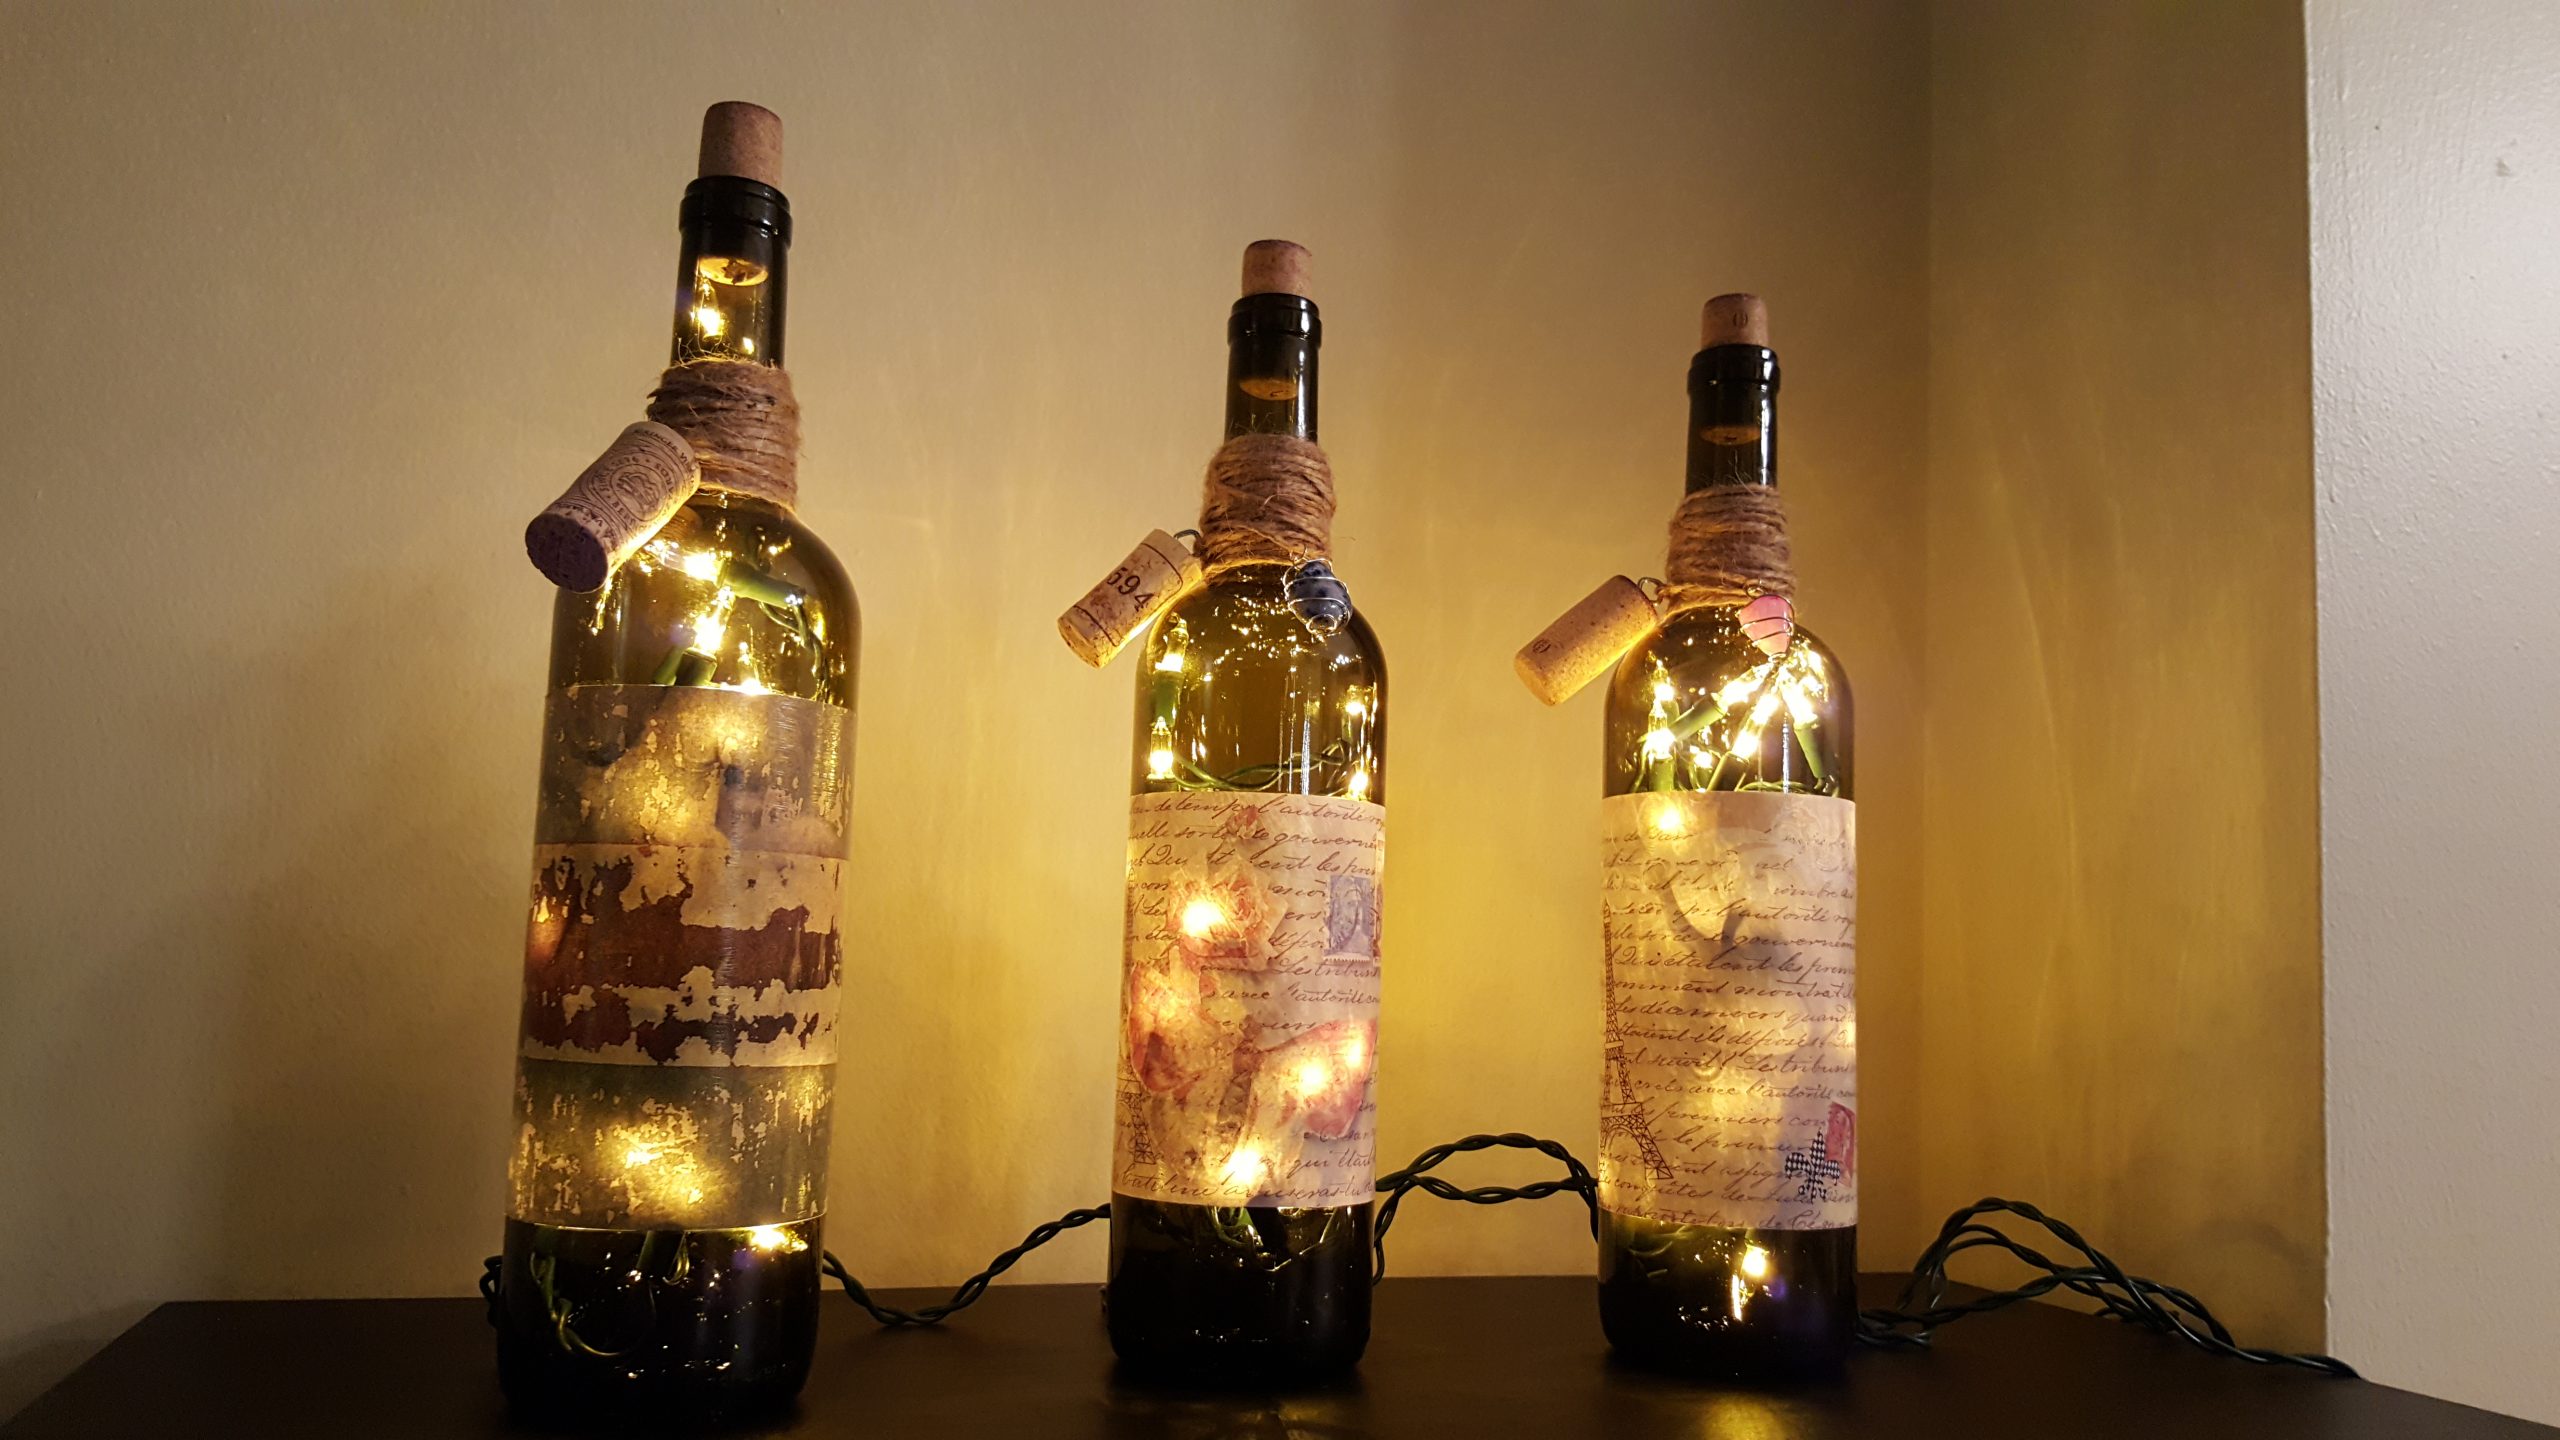
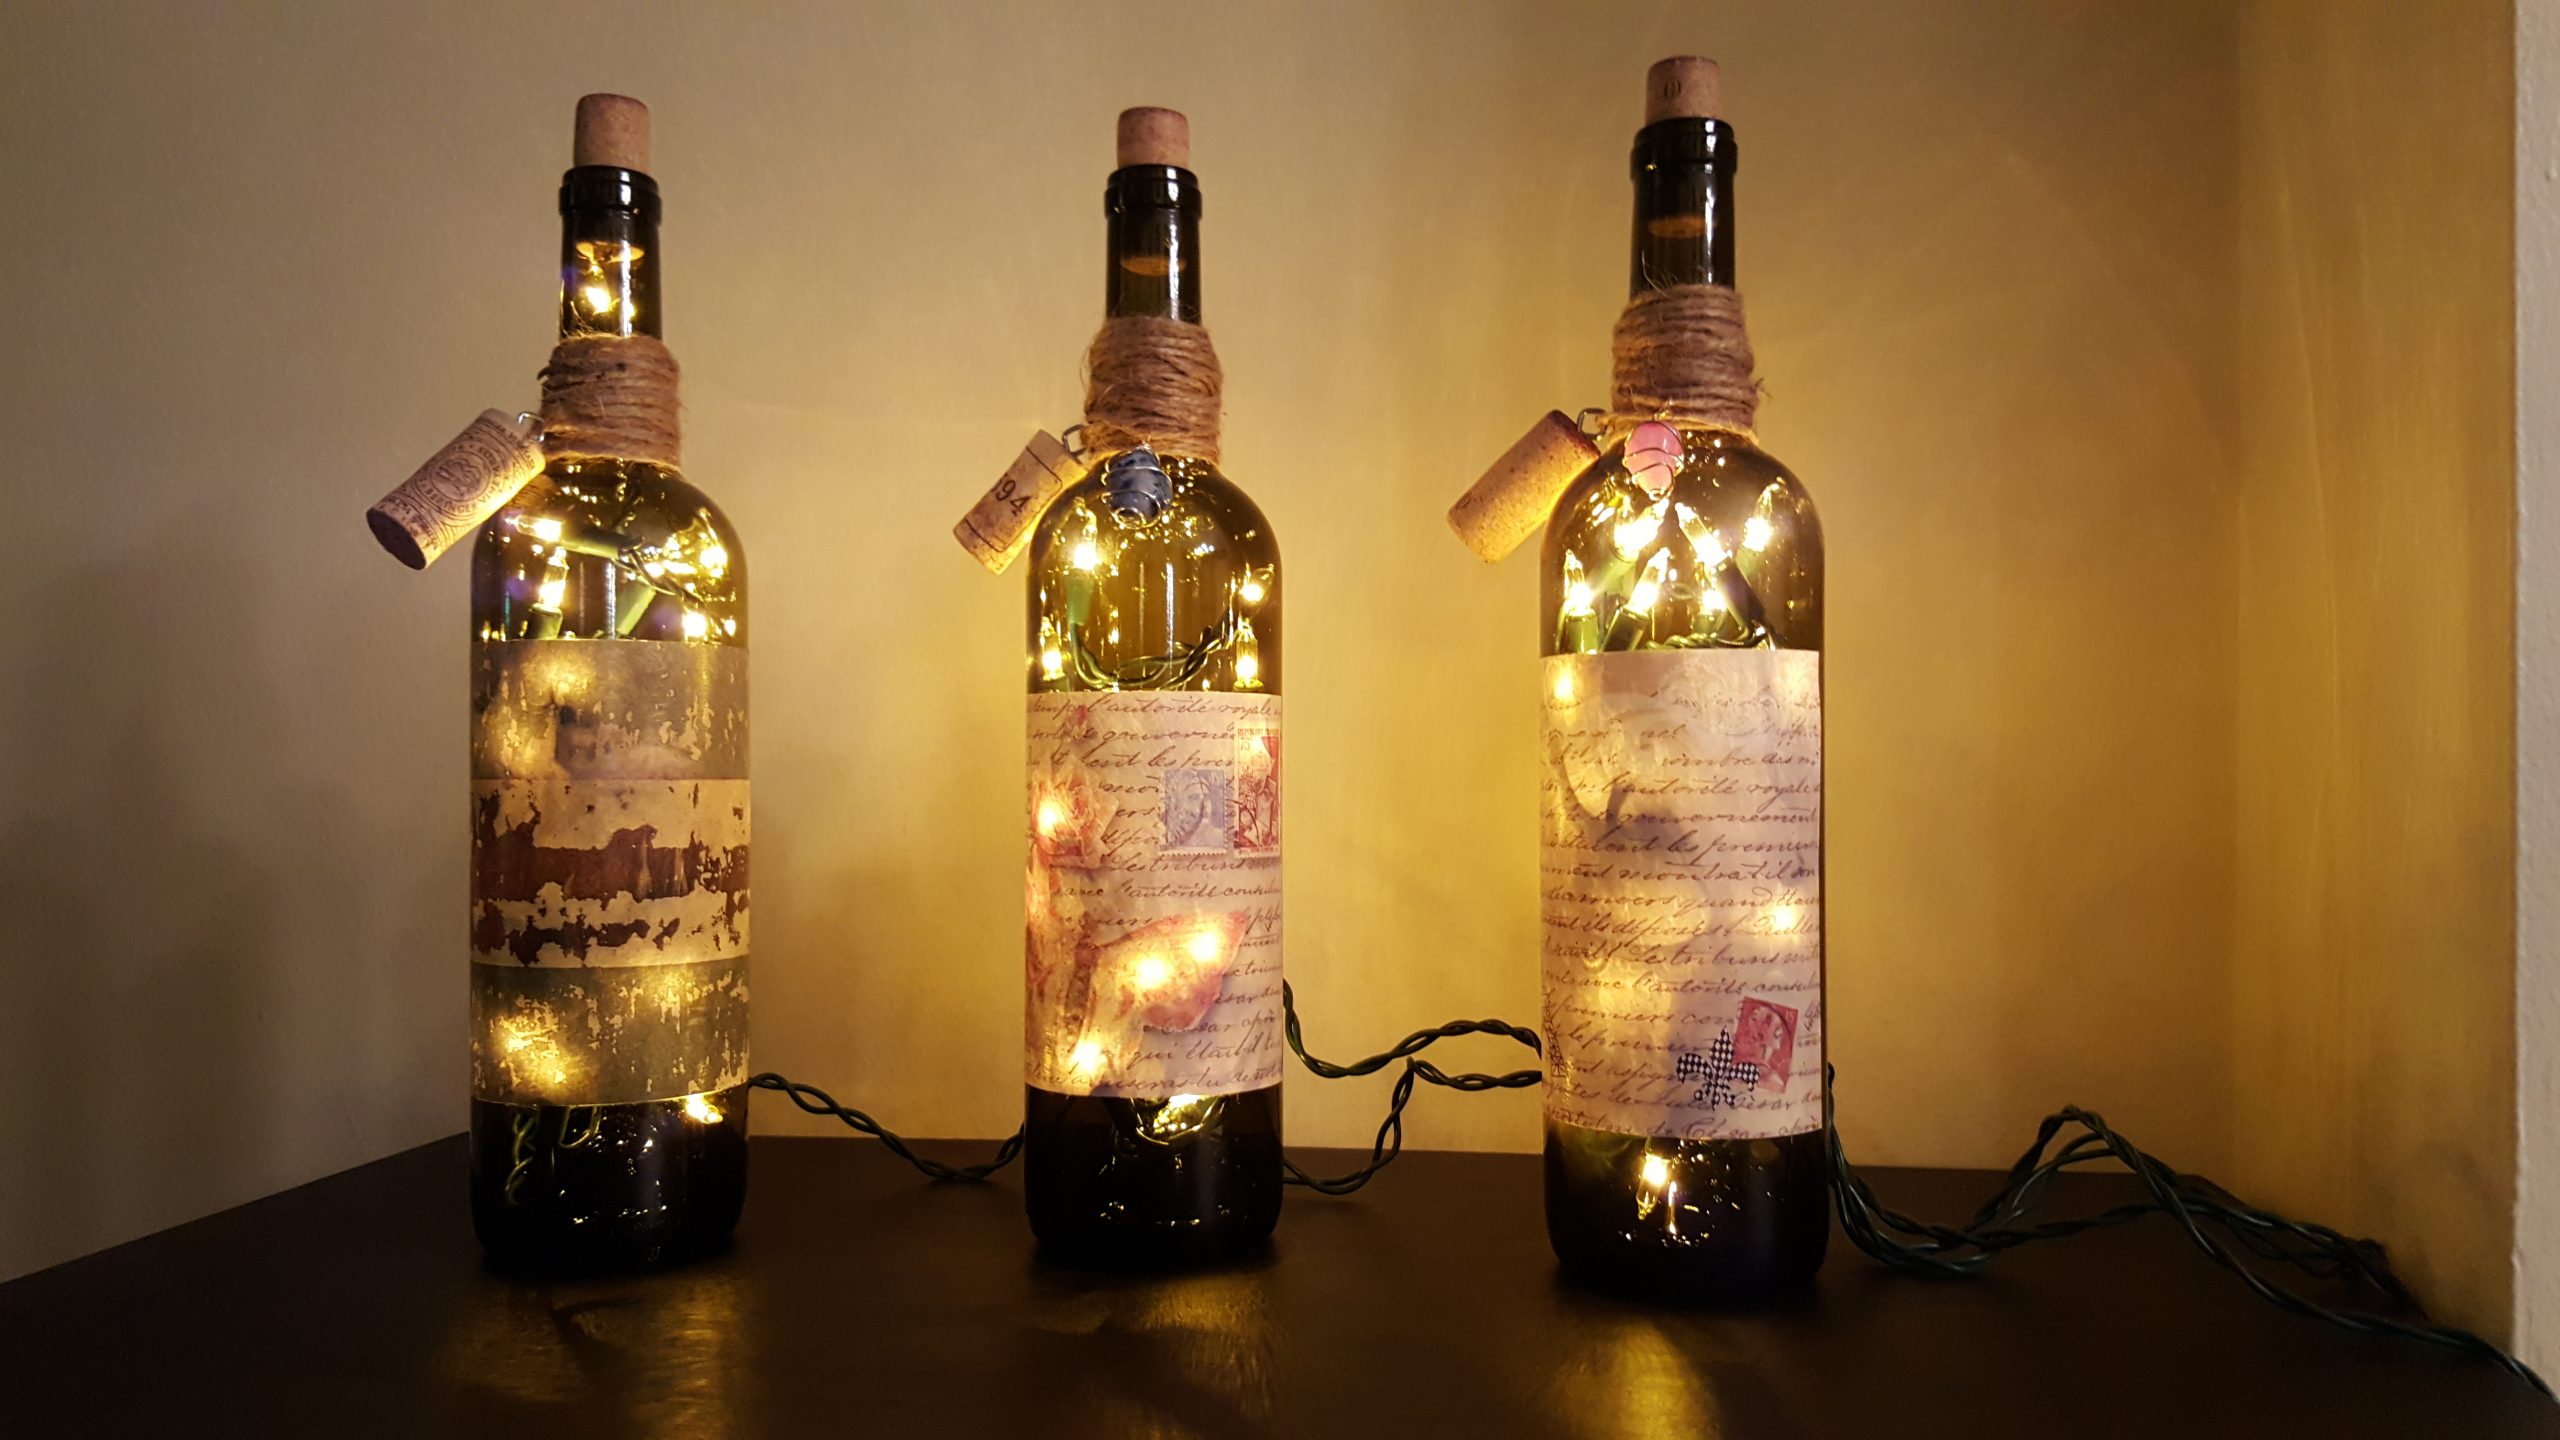
Tonight I am listing some new wine bottle lamps in my Etsy store. I have about 24 bottles ready to cut on my counter right now, but these three here have been complete for about a week. I thought it might be nice to get some pictures of all three together before I put them up and say a little about the process. They might look simple, but a lot of work goes into each one. If you have ever tried to drill a hole in a glass bottle, you know what I mean. Since I’ve now consolidated both blogs, I’m hoping to start posting video tutorials for some of the projects I do. If you are a DIY’er such as myself, you might want to give it a try.
Naturally, each bottle starts with a delightful and tasty wine. Once I have consumed it’s extreme deliciousness, I soak and scrub each wine bottle. Sometimes the label comes off at this point, sometimes not. If it doesn’t I score it like I would wallpaper and then soak some more. At this point, I usually scrape with a butter knife. I remove the labels first and then drill the holes. Much easier to do it that way. The hole drilling requires a lot of patience. I use a diamond tipped hole saw for this. Each bottle takes a good few minutes. You cannot put any additional pressure on the drill, other than the weight of the drill itself. If you do, trust me, you will break the bottle.
Once all the holes are drilled, I let the bottles dry a few days. Then I start with about 5 at a time and choose my theme for each one. Whether it be paint or French inspired label, a lot of thought goes into each one. Once the design is dry, I insert the lights. That way I can shake it for even distributions. After all the lights are in, I add whatever embellishment I think it needs. And voila, your new wine bottle lamp is complete! The entire process can take anywhere from three to five days depending on the design and its drying time.


View one of these listings here!
Cheers!. 🙂
![]()


No Comments