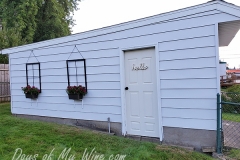
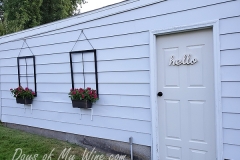
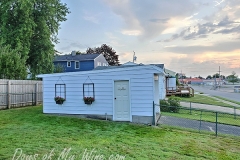
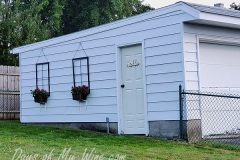
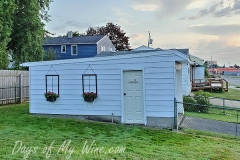
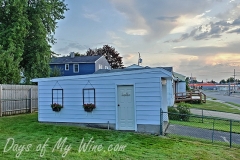
Using faux windows is a great way to breathe new life to an old, dilapidated garage. To say my detached garage was in sad shape would be a major understatement. Chipmunks had dug holes all around the foundation allowing water to get in and cause it to slant. That, combined with the rundown door and plain sides, made it an eyesore. My solution? Faux windows!
Getting Started and Materials for your Faux Windows
My garage is pretty small, so I did not want to go too big with the windows. I decided on two medium-sized windows. I had most of the materials laying around the house already. Here’s what you need:
- two-inch craft boards and quarter-inch dowels
- staple gun
- black paint or the color you prefer (I have a black theme going on in my yard :-))
- jute twine
- chain for hanging
- nails
- small flower boxes
- flowers
- potting soil
- shelf brackets
Construction
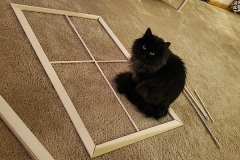
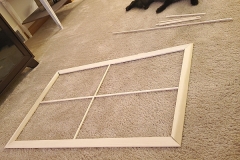
Construction took no time at all. You cut your pieces to the size you want and then staple them together at the seams, as you would see on the back of a picture frame. If you turn over one of your cheaper frames, you will see that they are stapled together, This is gross, but a good example. Have you ever seen a medical show where they staple a cut closed? That is basically what you are doing at the corners and where the dowels fit in. You do have to be careful when stapling the dowels. They are fragile and I broke a number of them while putting them together.
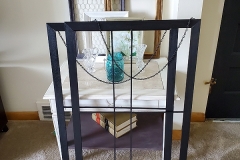
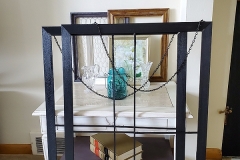
Once everything is together, paint your window! After it was dry, I used my staple gun and jute twine to attach the chain for hanging. I chose a black chain to match my black paint. If you have ever done upholstery and attached a button, you know you staple the thread to the back of your project. Then you pull it a different way and staple it again. Then one or a couple more times for strength. That is is the same principal I used when attaching the chain with jute twine.
Your windows are complete!
Hanging Your Faux Windows
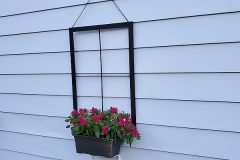
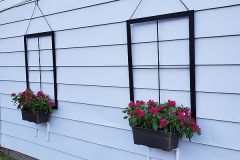
If you have a perfectly strait garage, hanging your faux windows should be no problem. My garage was far from straight because of the foundation situation. I ended up marking where tops of the windows were even…approximately. 🙂 Then I held up the chain to see where to put the hook in. I attached the hook and hung the faux windows.
Hanging Your Shelf Brackets for the Window Boxes
This next part is whey we have not filled the window boxes yet. Take your empty window boxes and hold them up to your handing faux window the the position you want them to sit. Now mark the bottom of the window box. This is where you will place your shelf brackets. Grab your shelf brackets and attach them. You’re almost done!
Get Dirty!
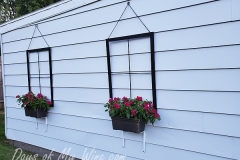
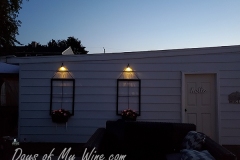
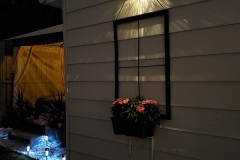
Now is the fun part. Grab you potting soil and your favorite flowers and get planting!! Last year a chose a purple flower because it was getting toward the end of the year and that was about all they had left. This year, I plated some lovely pink flowers to go with my pink theme. Once you have your flower boxes planted, place the on you shelf brackets. Your faux windows are complete!
Final Thoughts
I would not change one thing about this project. I get more compliments on these cheap faux windows than any other exterior decor. It is amazing that something so simple could make such a difference. If I absolutely had to change one thing, I might use thicker wood in the center instead of the dowels. They were a little difficult to worth. Overall, even after a year, I am still completely in love with them. Drop me a comment if you give it a try! Cheer!




No Comments